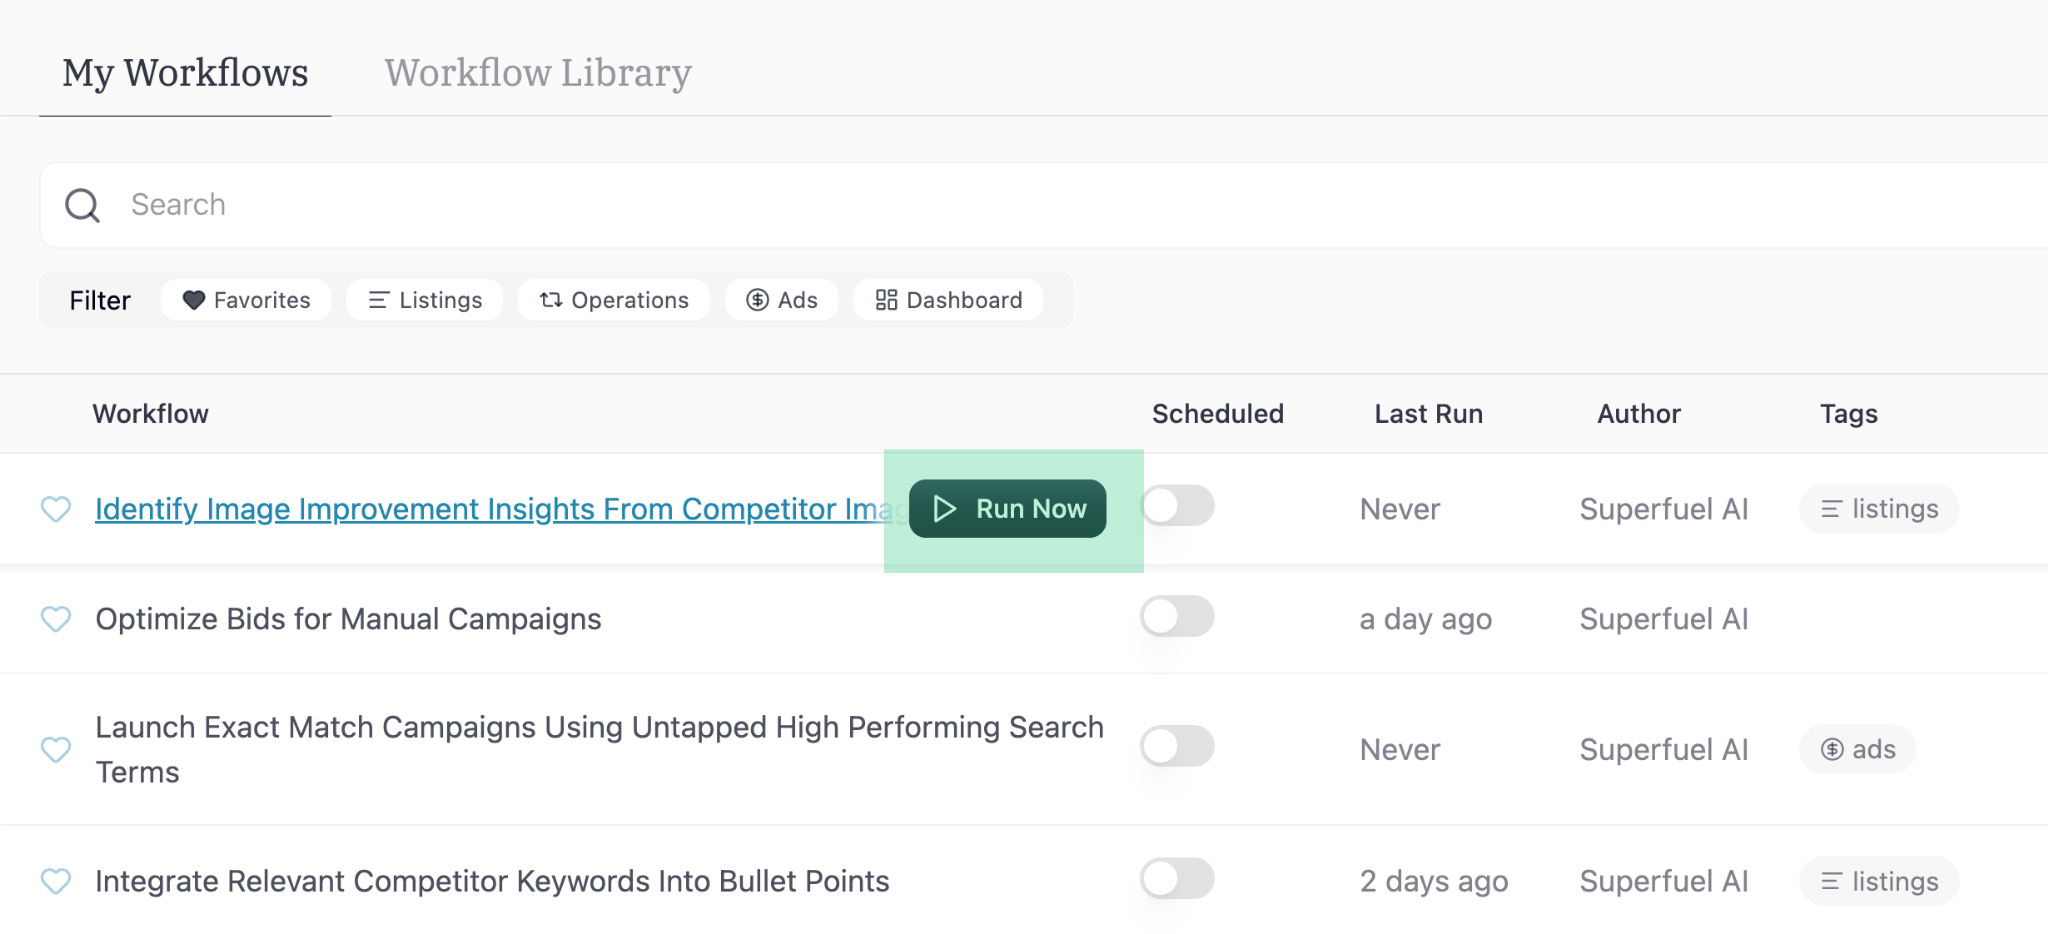
Step 1: Run your first Workflow from Workflow Library
Let’s start with a simple Workflow to identify image improvement insights from competitor images: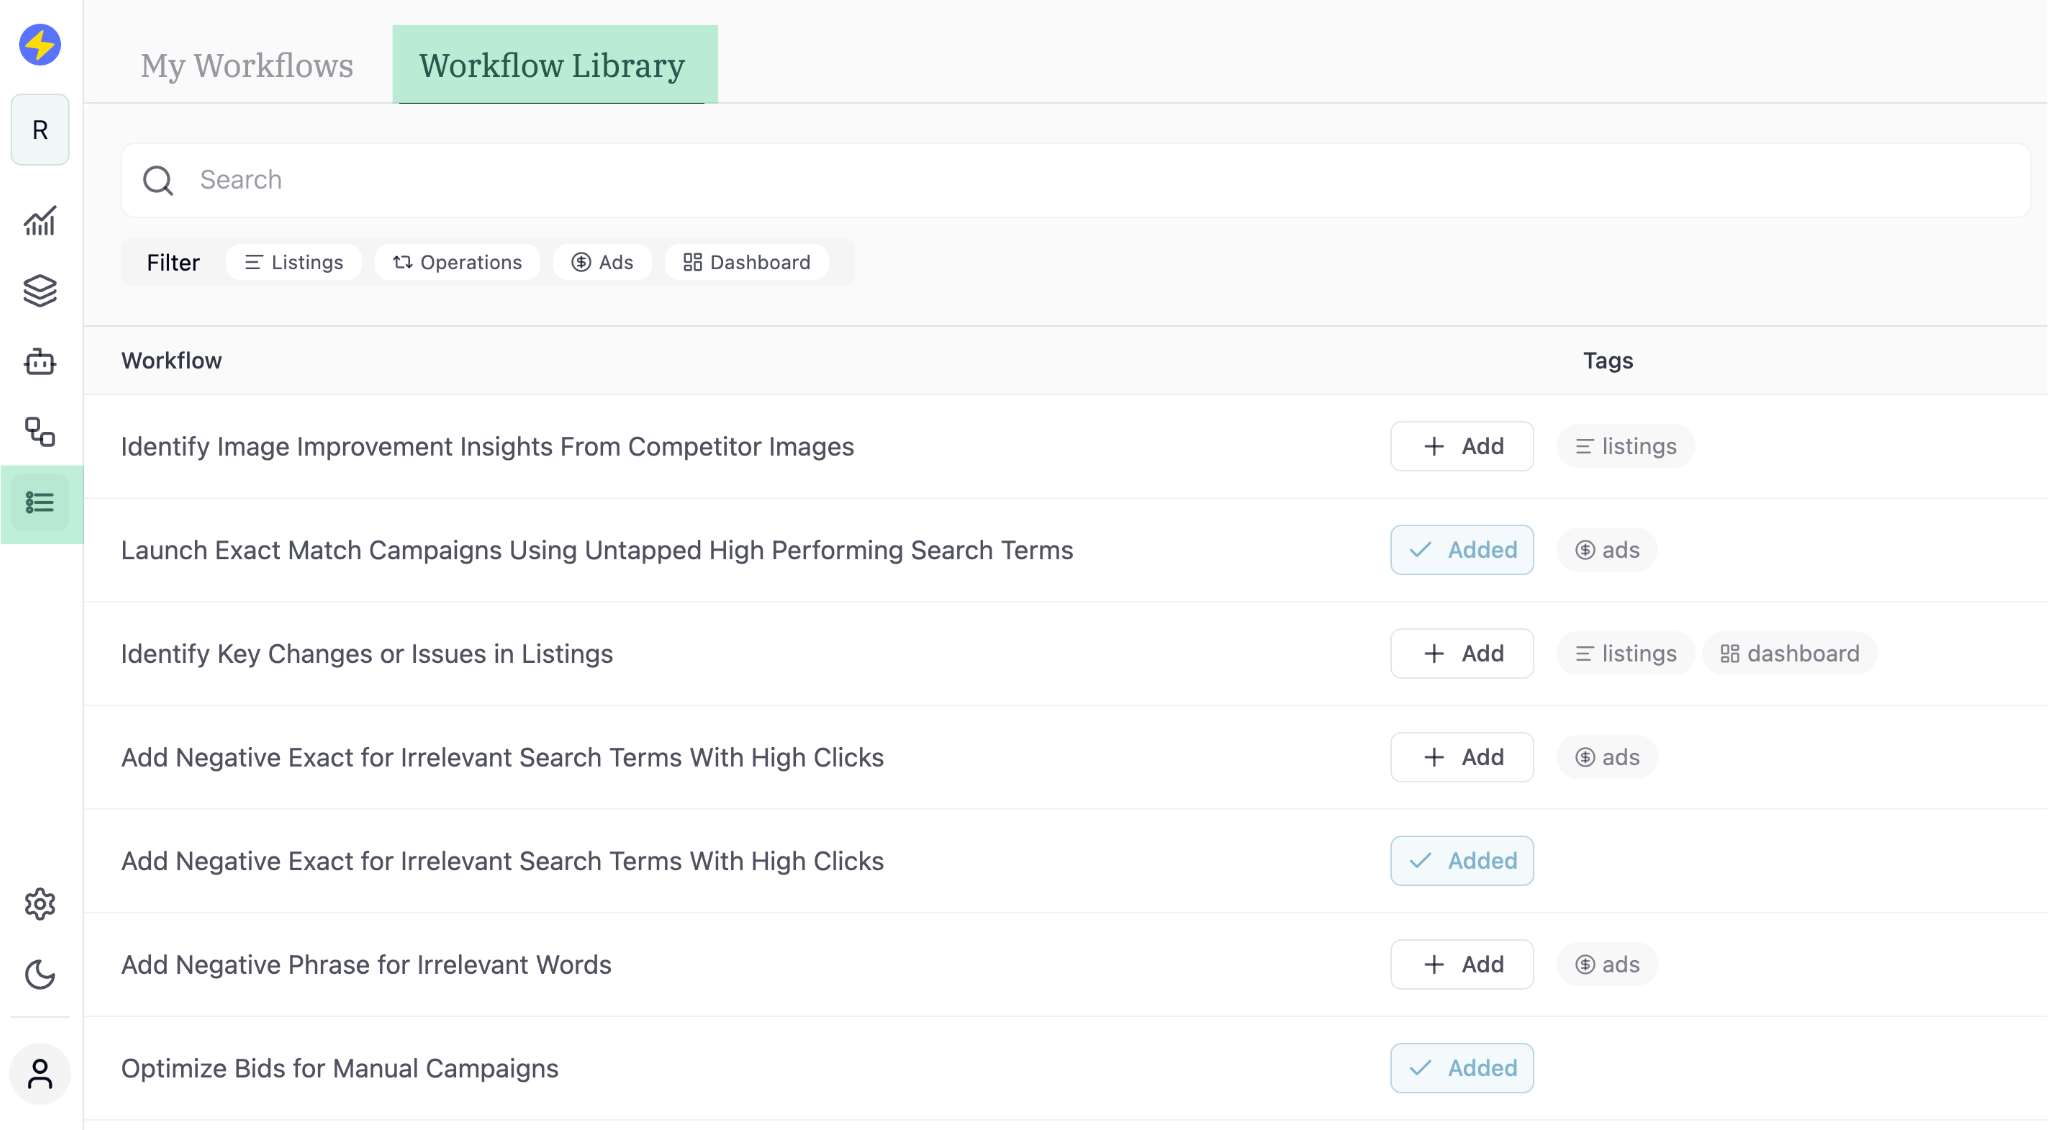
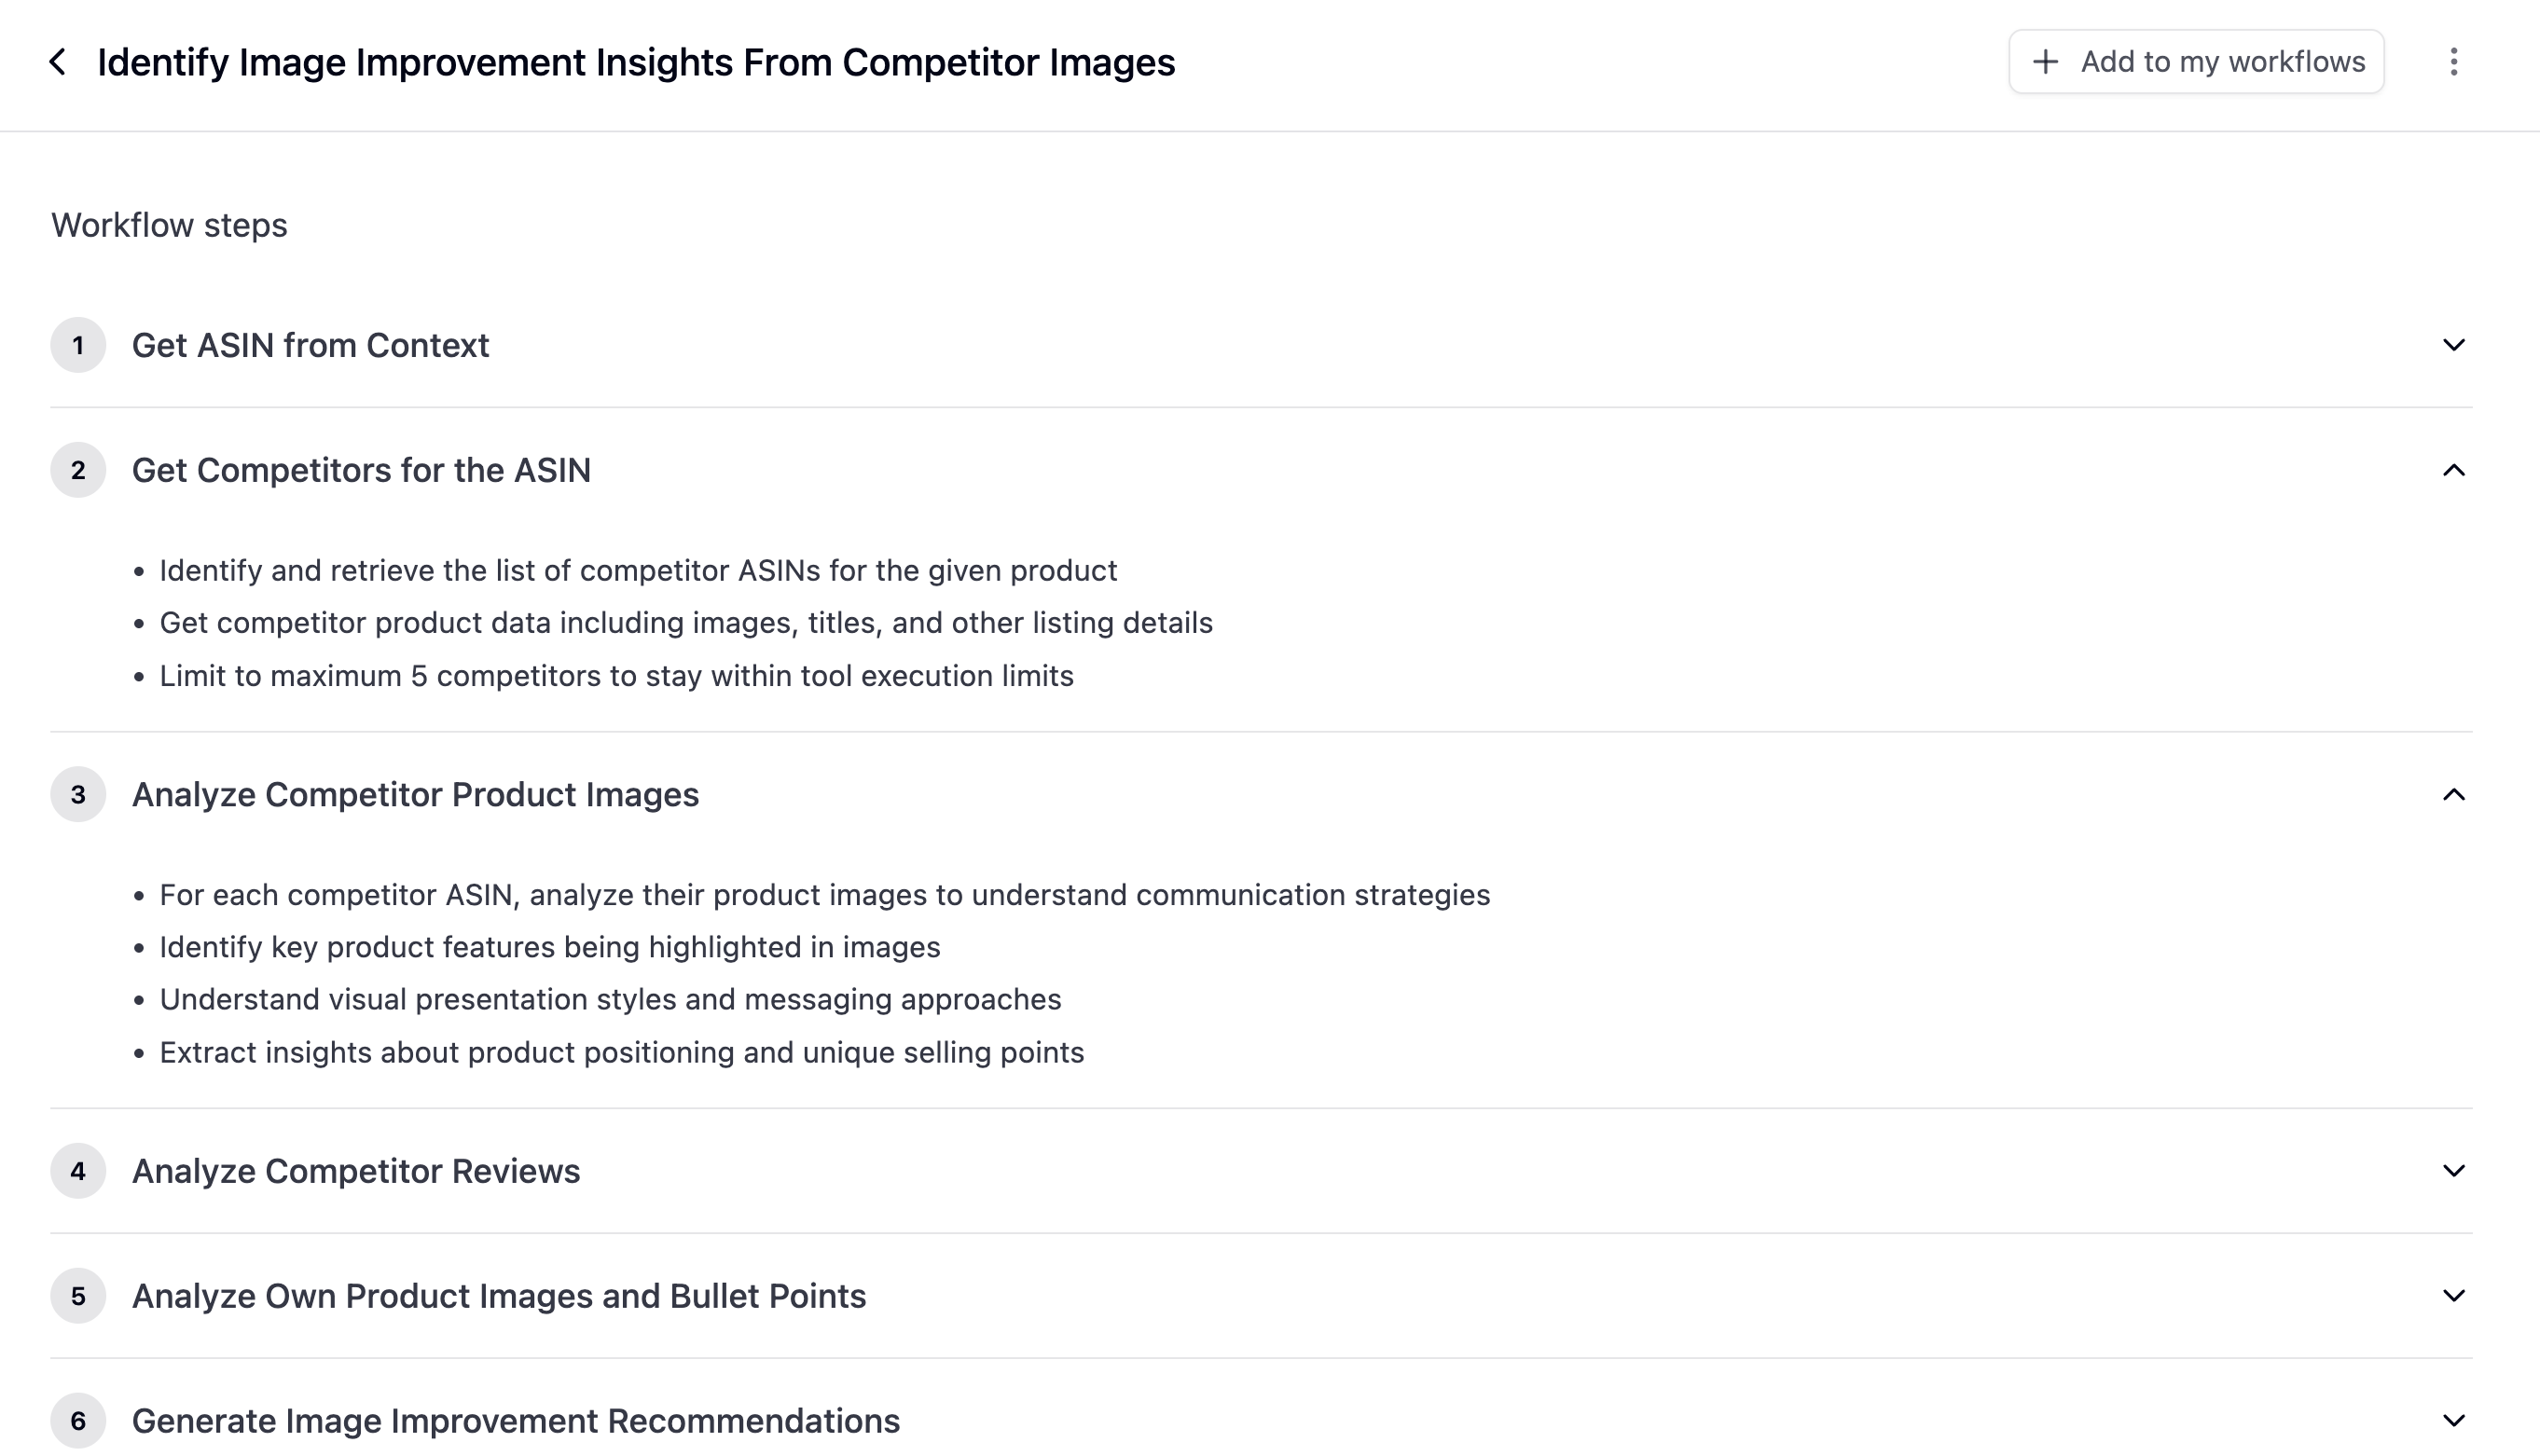
Click on a Workflow to see its logic and steps
Click on “Identify Image Improvement Insights From Competitor Images” to see its logic/steps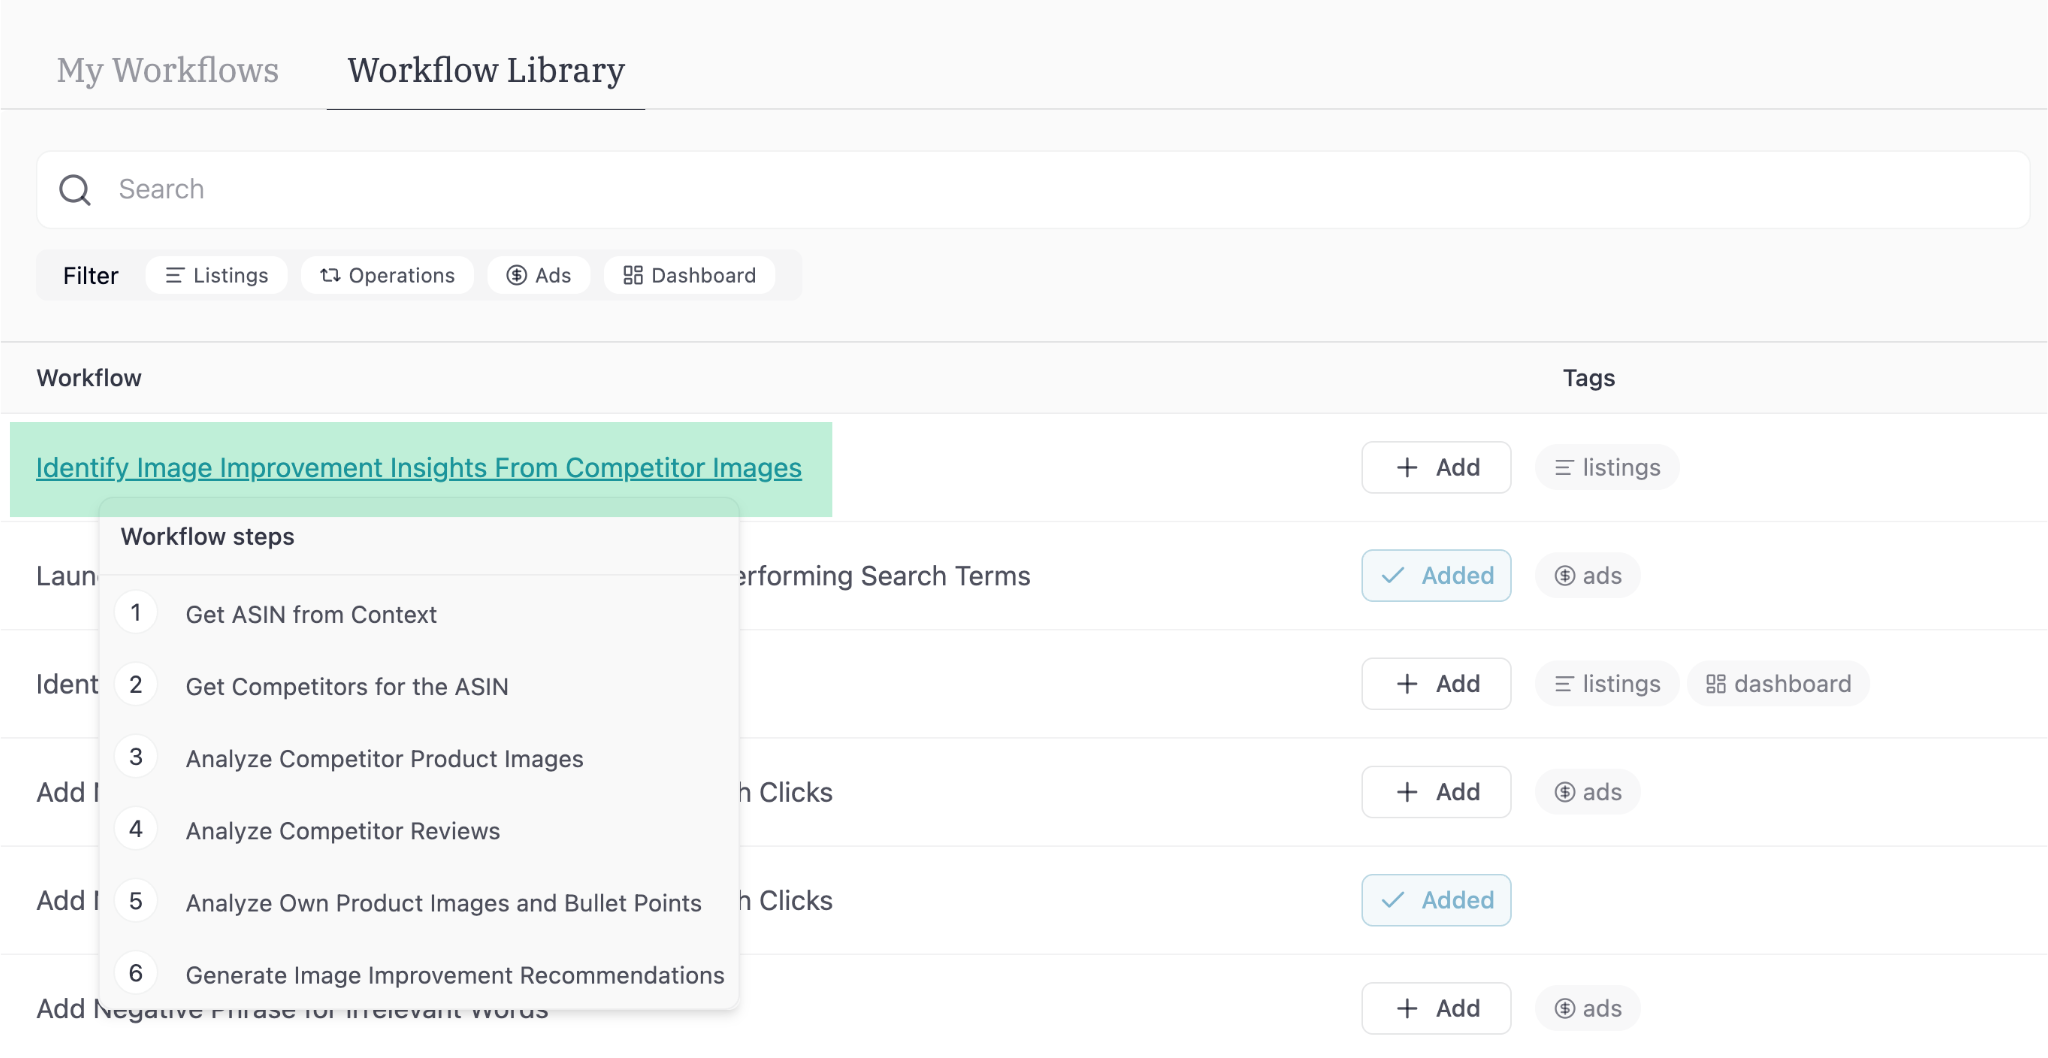
Step 2: Create your first Custom Workflow
Now that you have used a Workflow from the Library, let’s create a custom workflow. This one to update bullet points using relevant competitor ranking keywords:Send a simple prompt to the Agent
Type in the following prompt:“Identify 7-8 top competitors for my ASIN with similar features and pricing. Find the keywords they rank for within the top 30 organic positions. Filter keywords directly relevant to my product with a search volume over 500. Integrate these keywords into my bullet points naturally, making only minimal changes to the existing bullets.”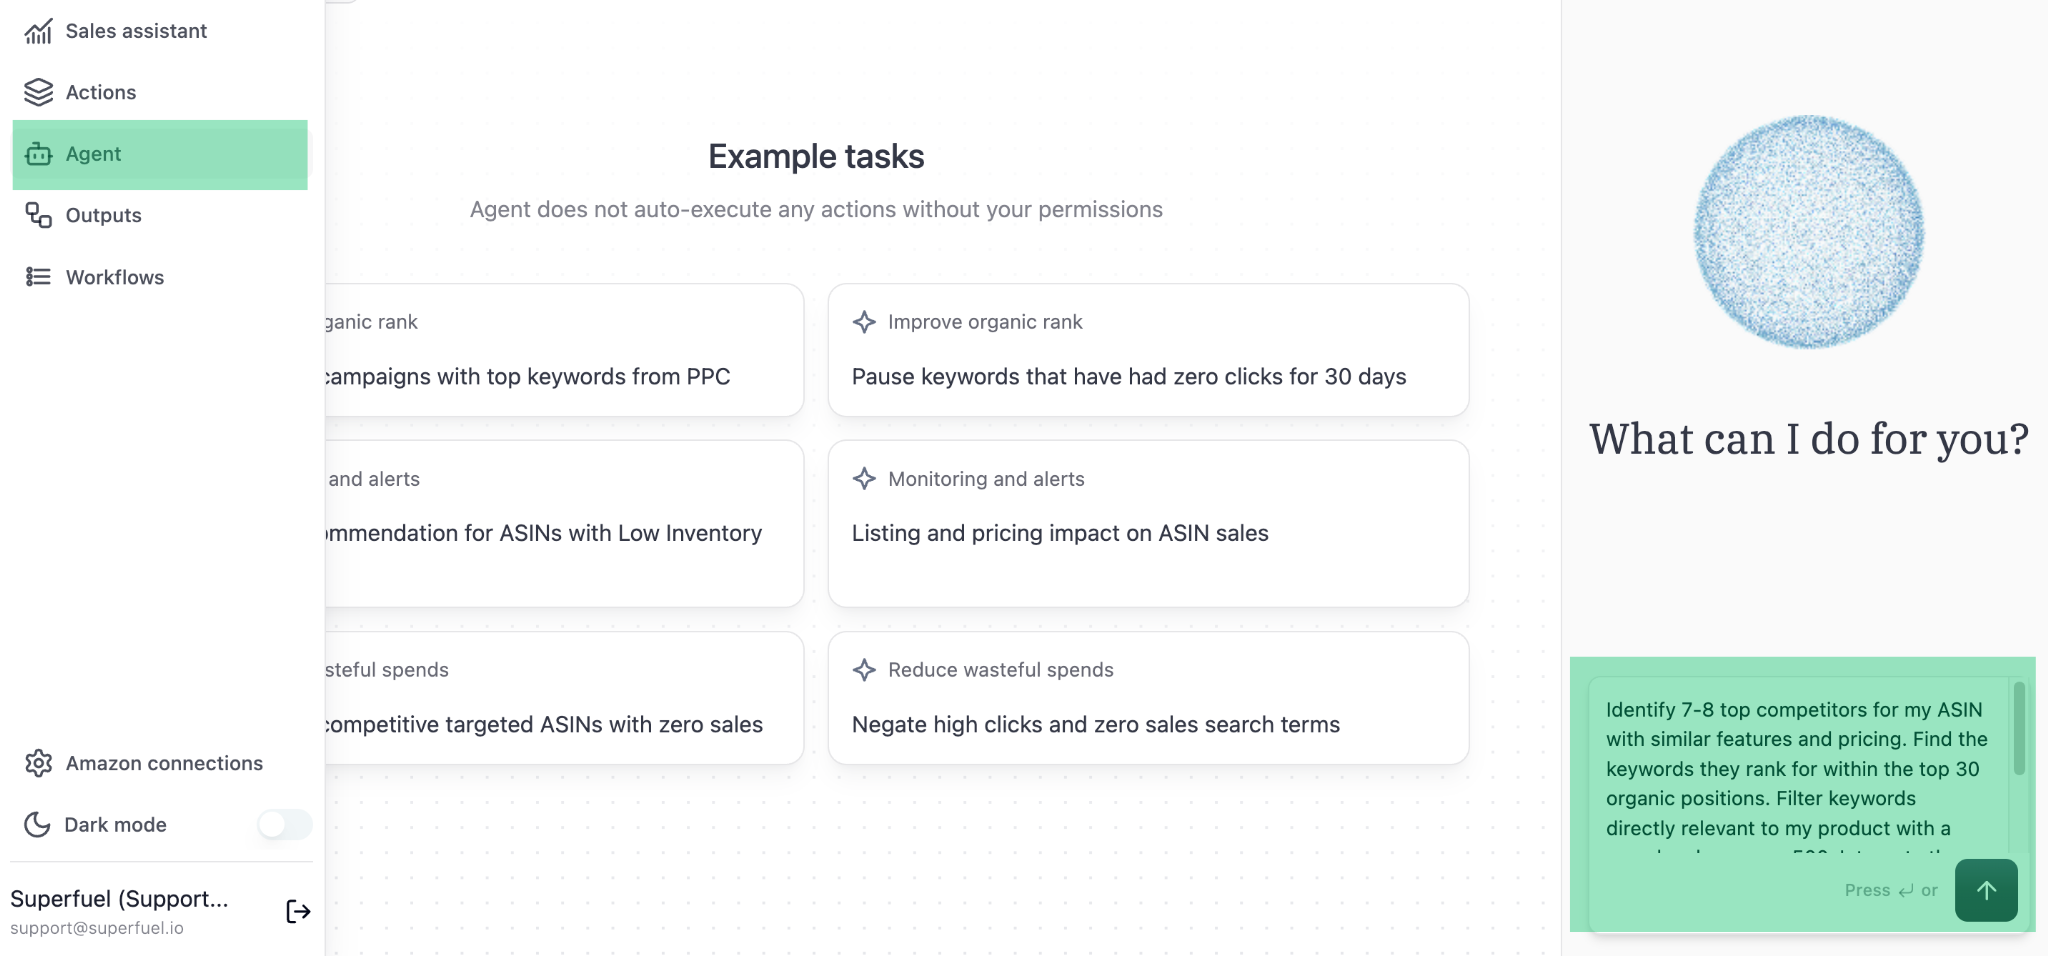
Review the Steps proposed by the Agent
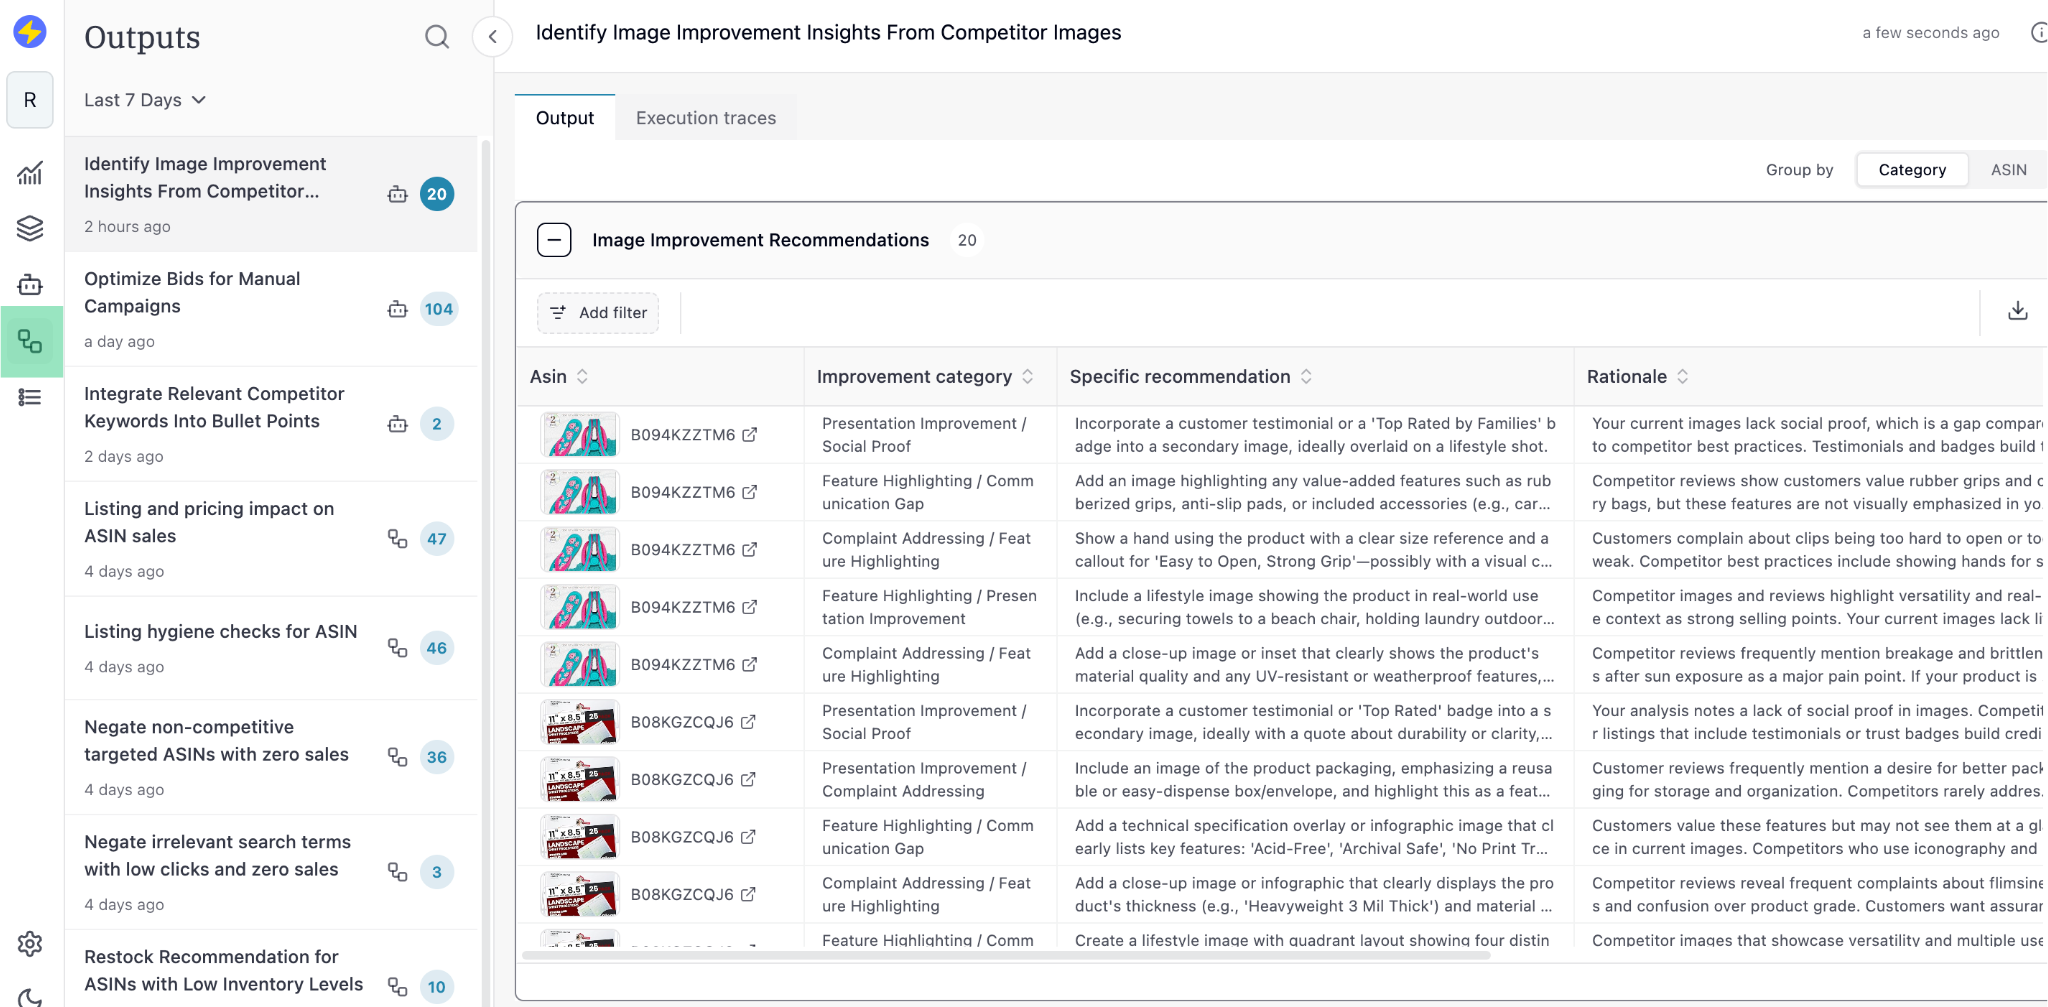
Review the steps and ask the Agent to make changes if needed. If no changes are required, tell the Agent to go ahead with generating the test output.The Agent will generate output on random 4-5 ASINs to show what the output looks like. If you’re happy with the output, you can select specific ASINs you want to run the workflow on.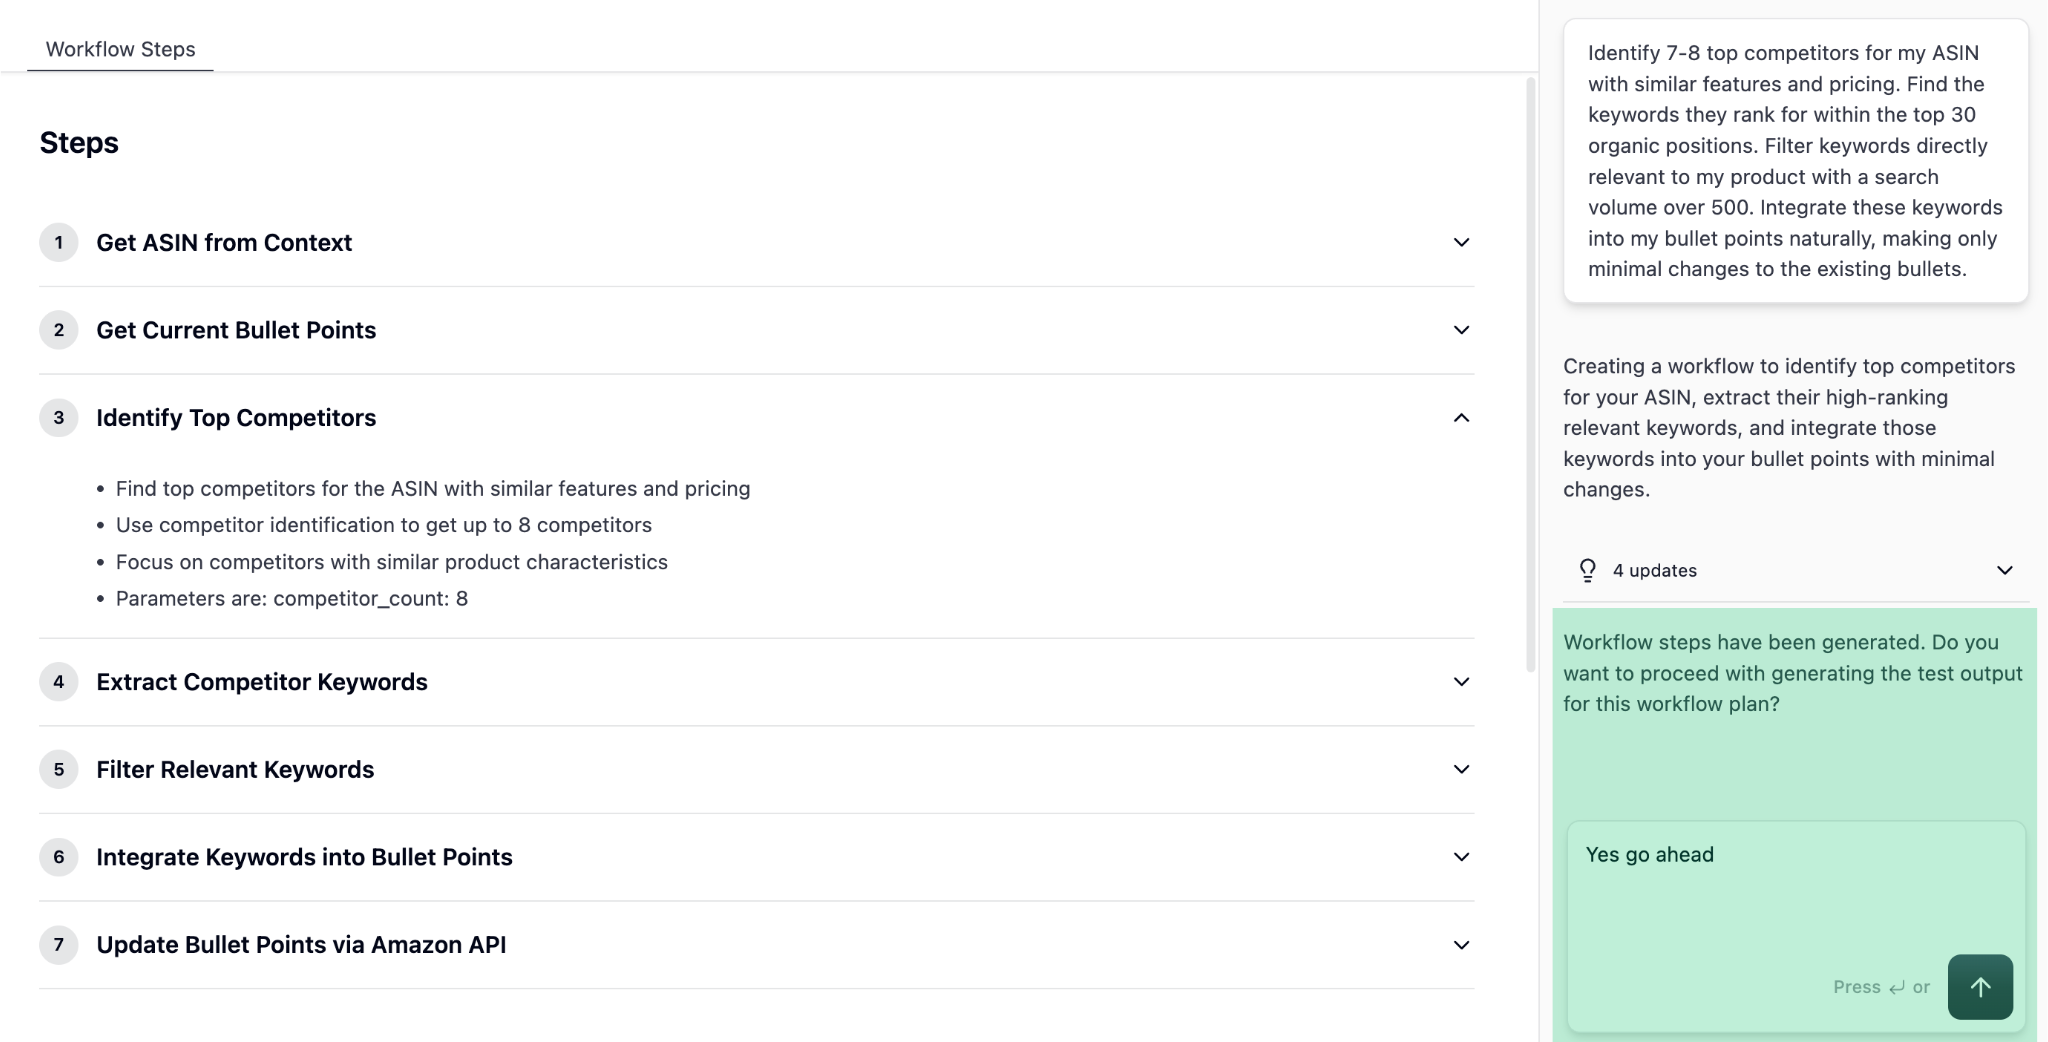
Don’t worry, the Agent won’t execute anything automatically. It will execute only after your approval once you review the output.
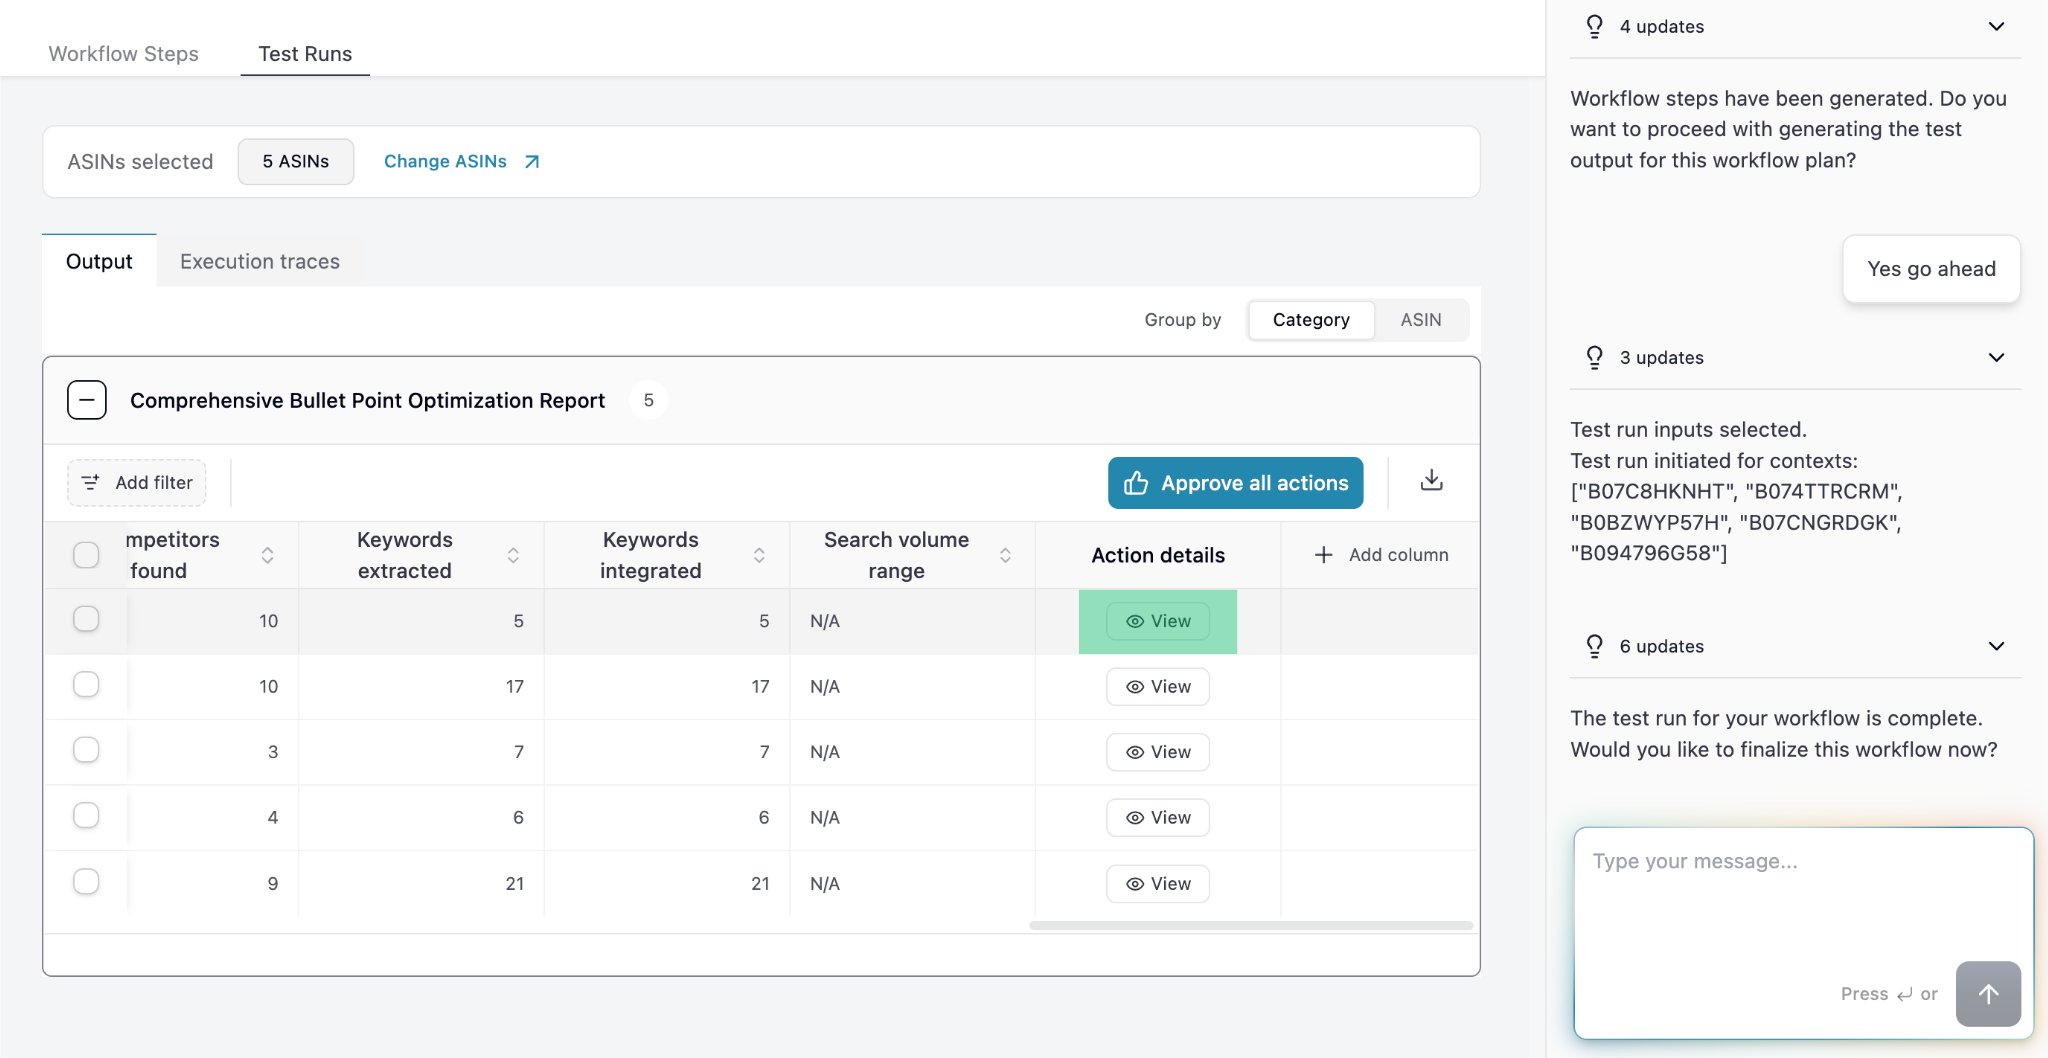
Approve the output, or continue refining the Workflow
You can Approve the bullet point suggestions to make these changes live on Seller Central (no separate manual action required).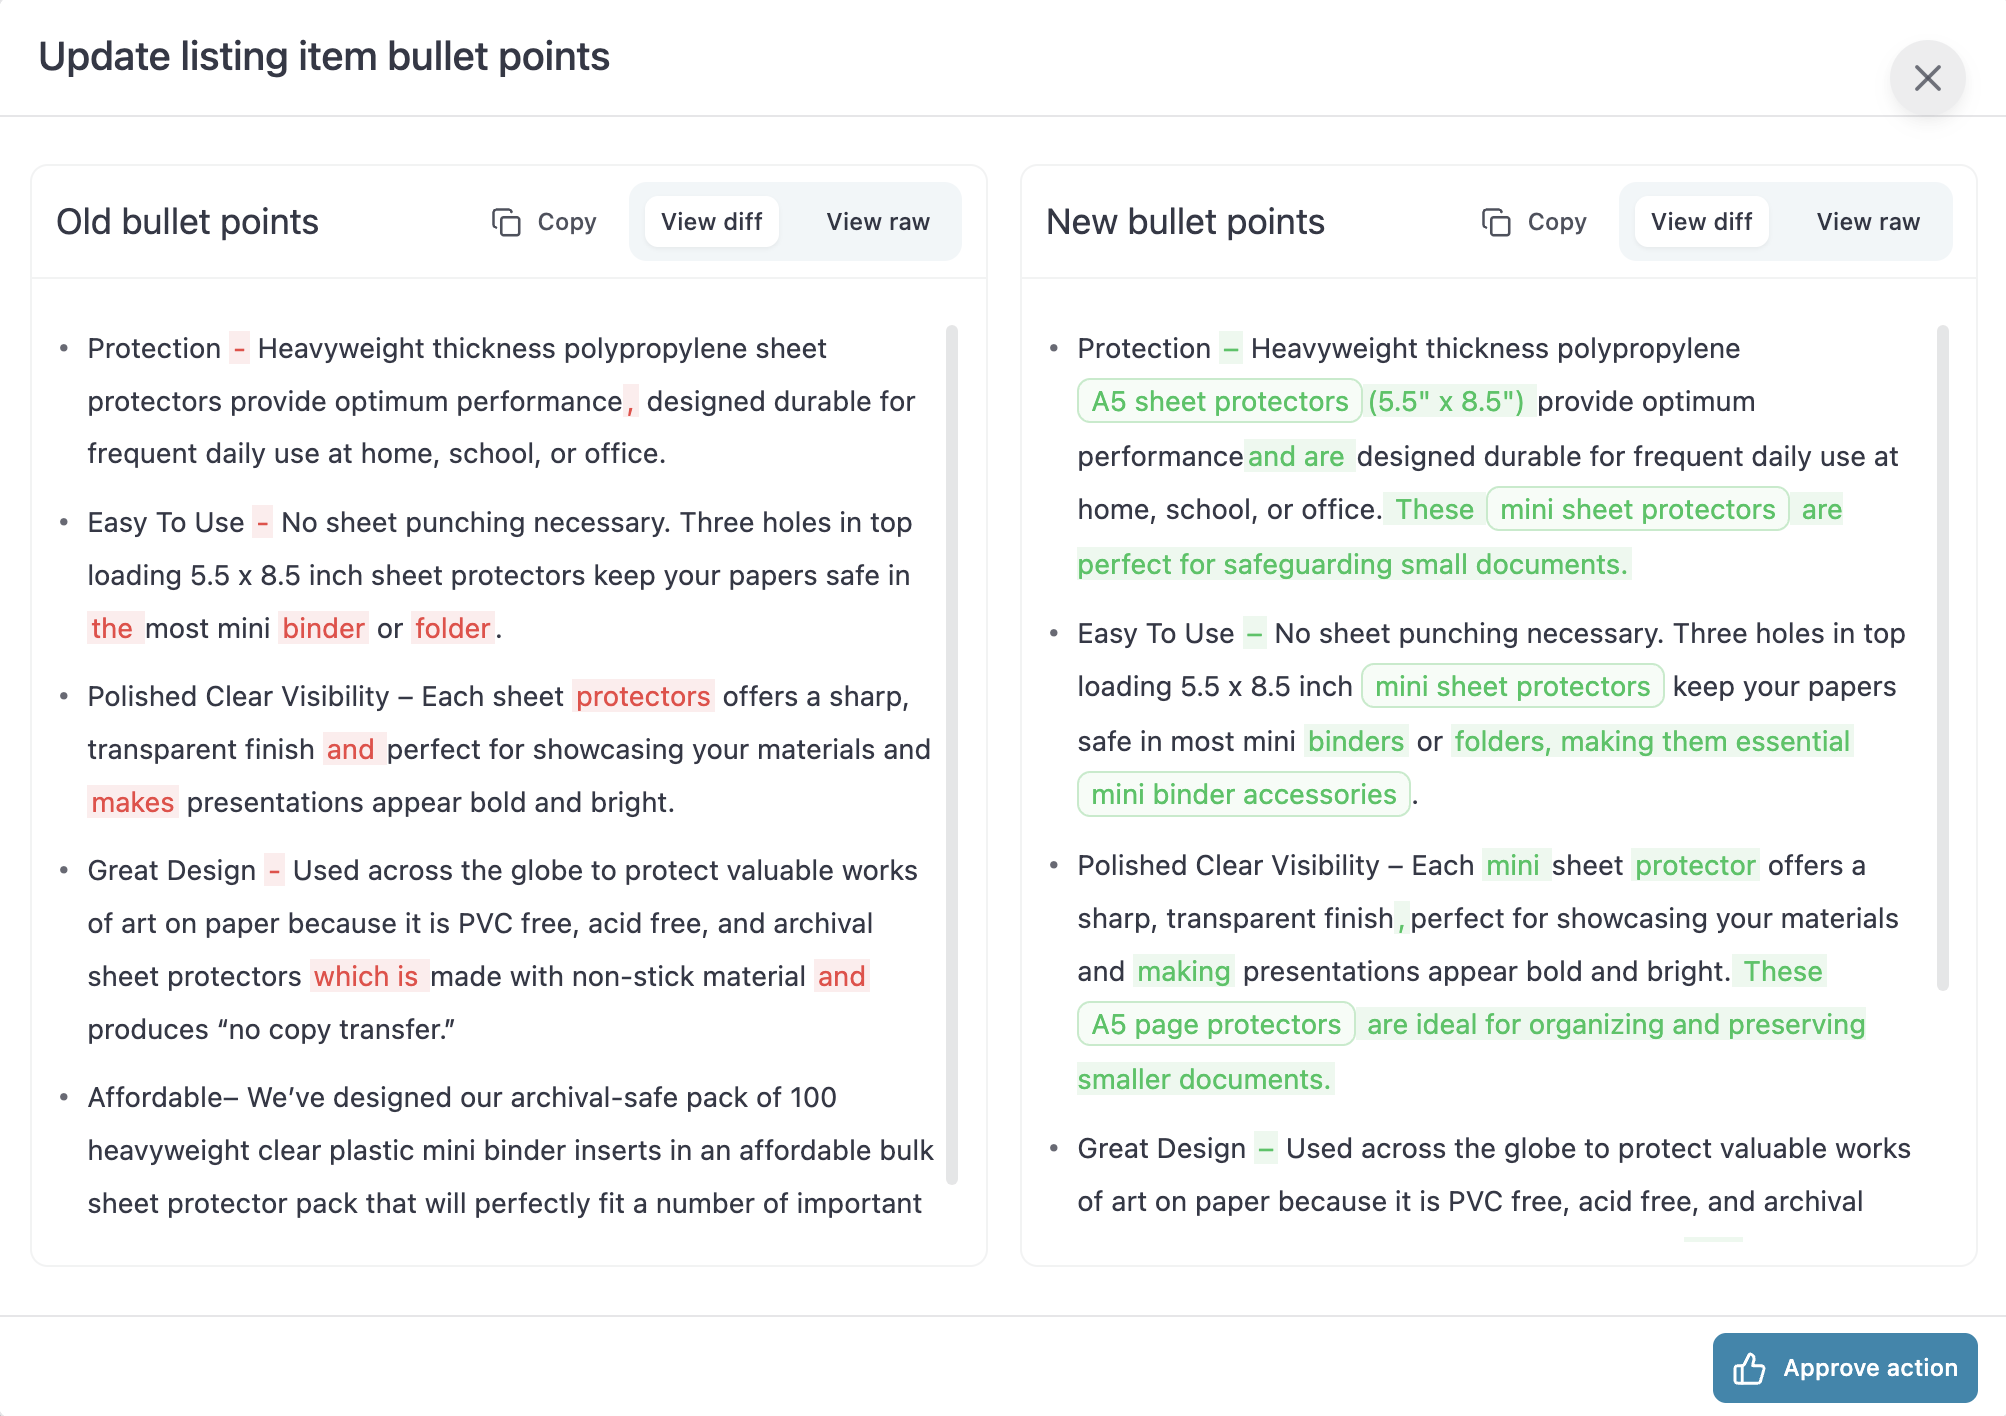
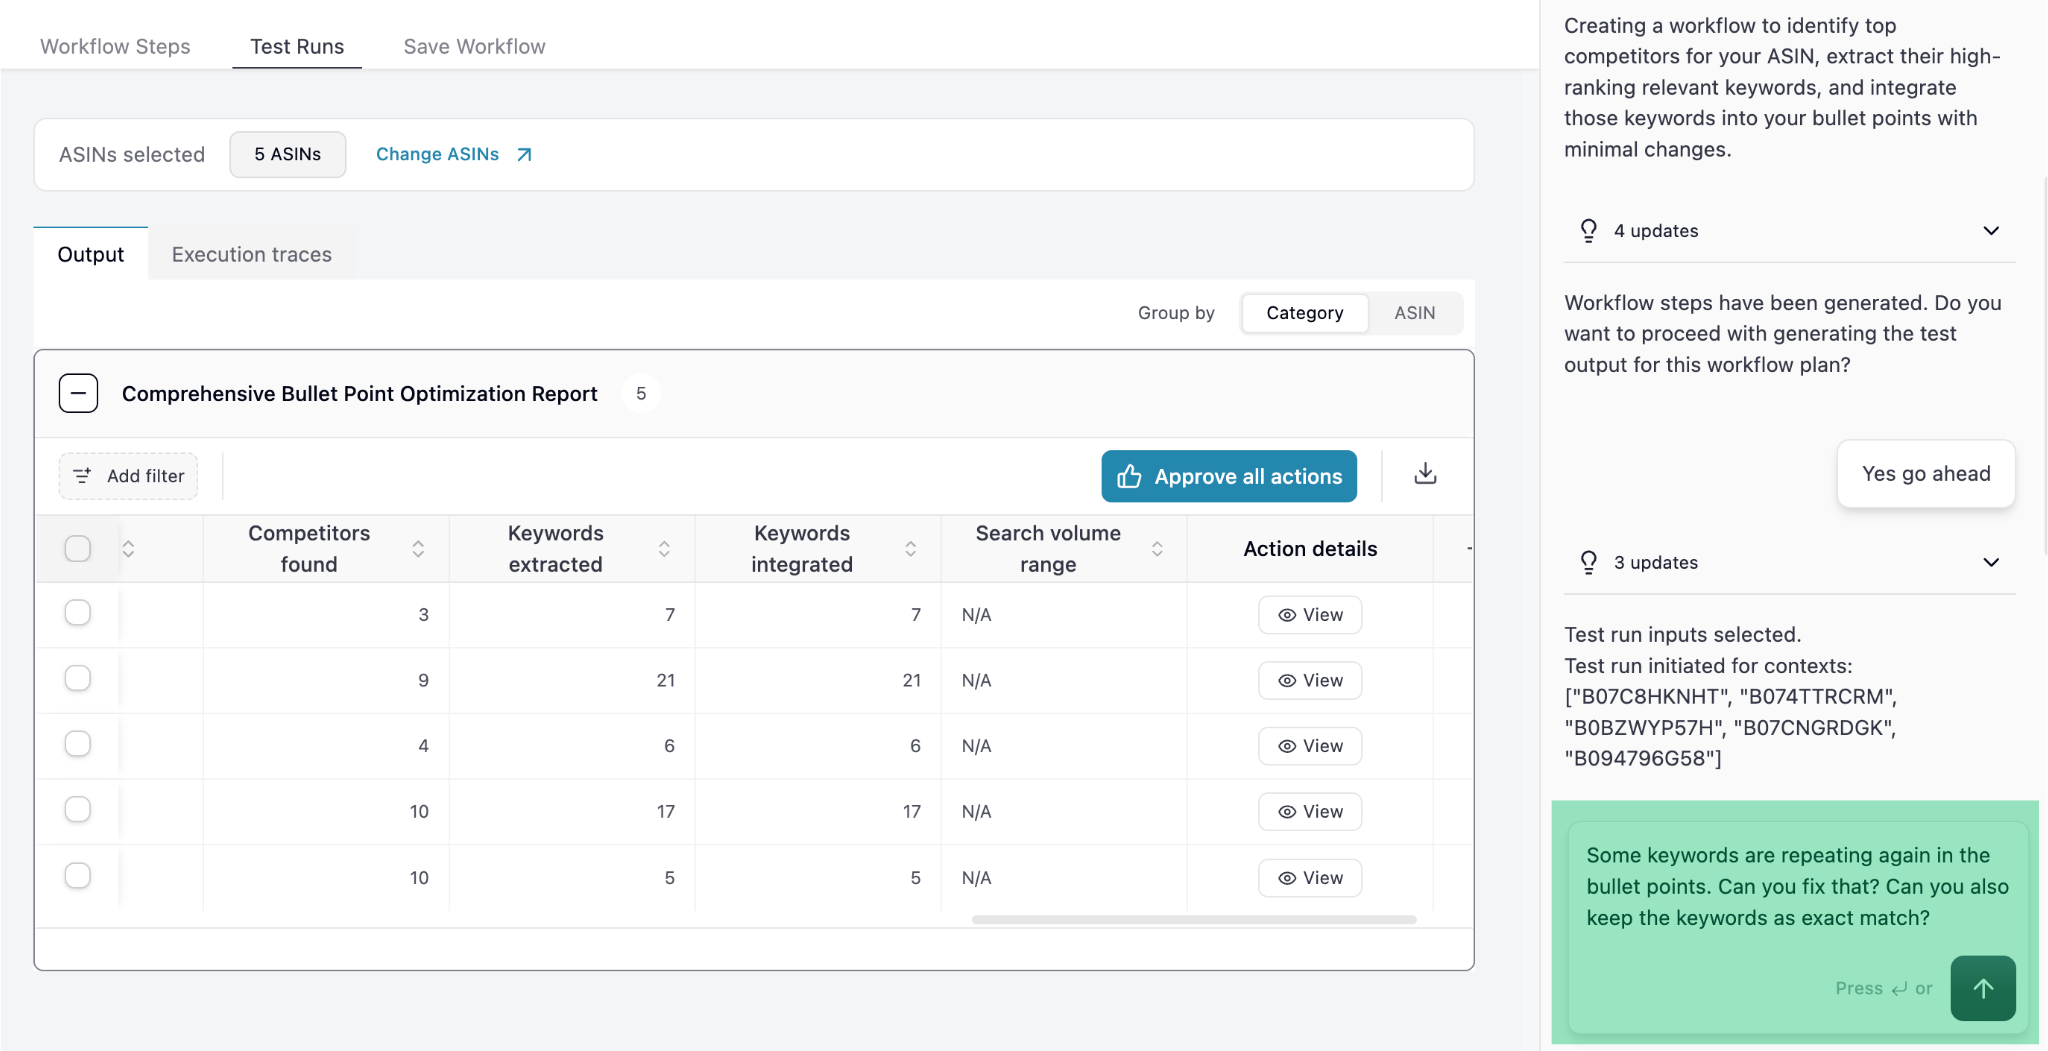
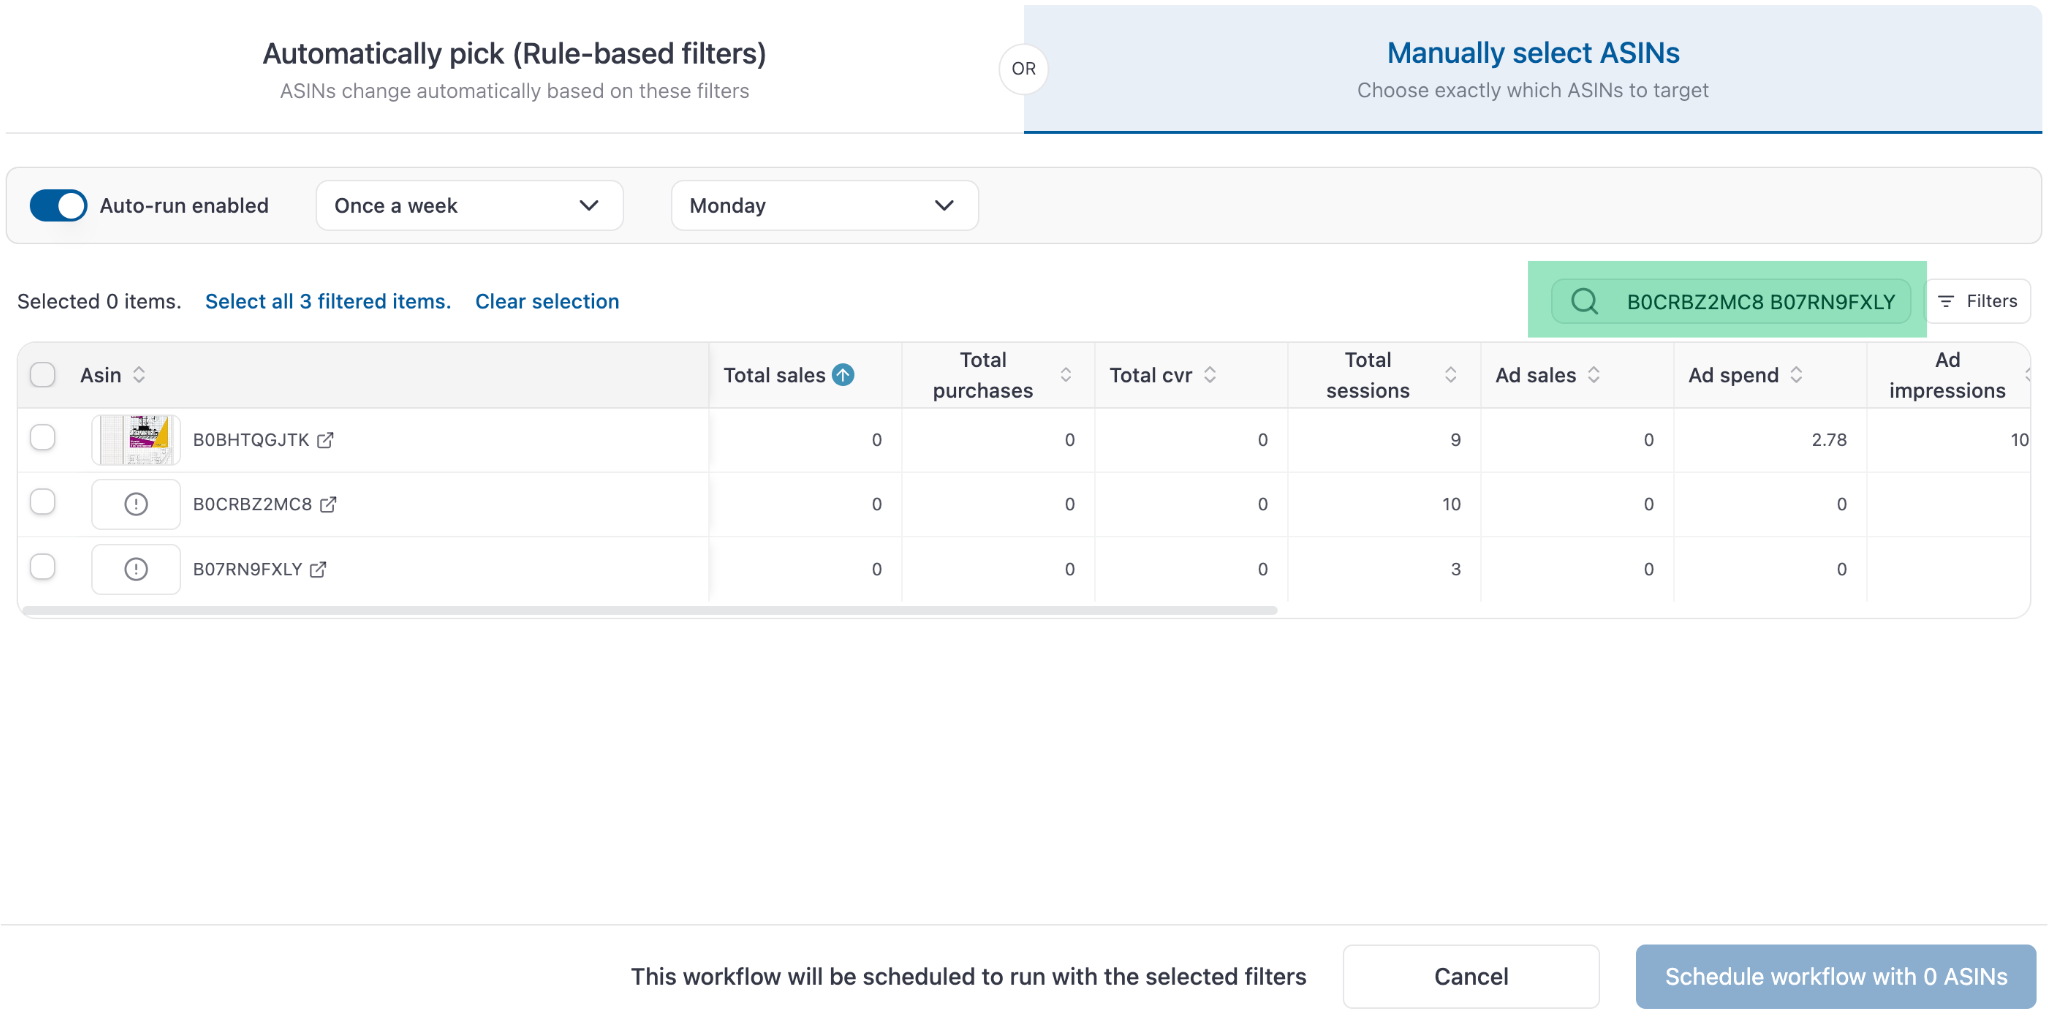
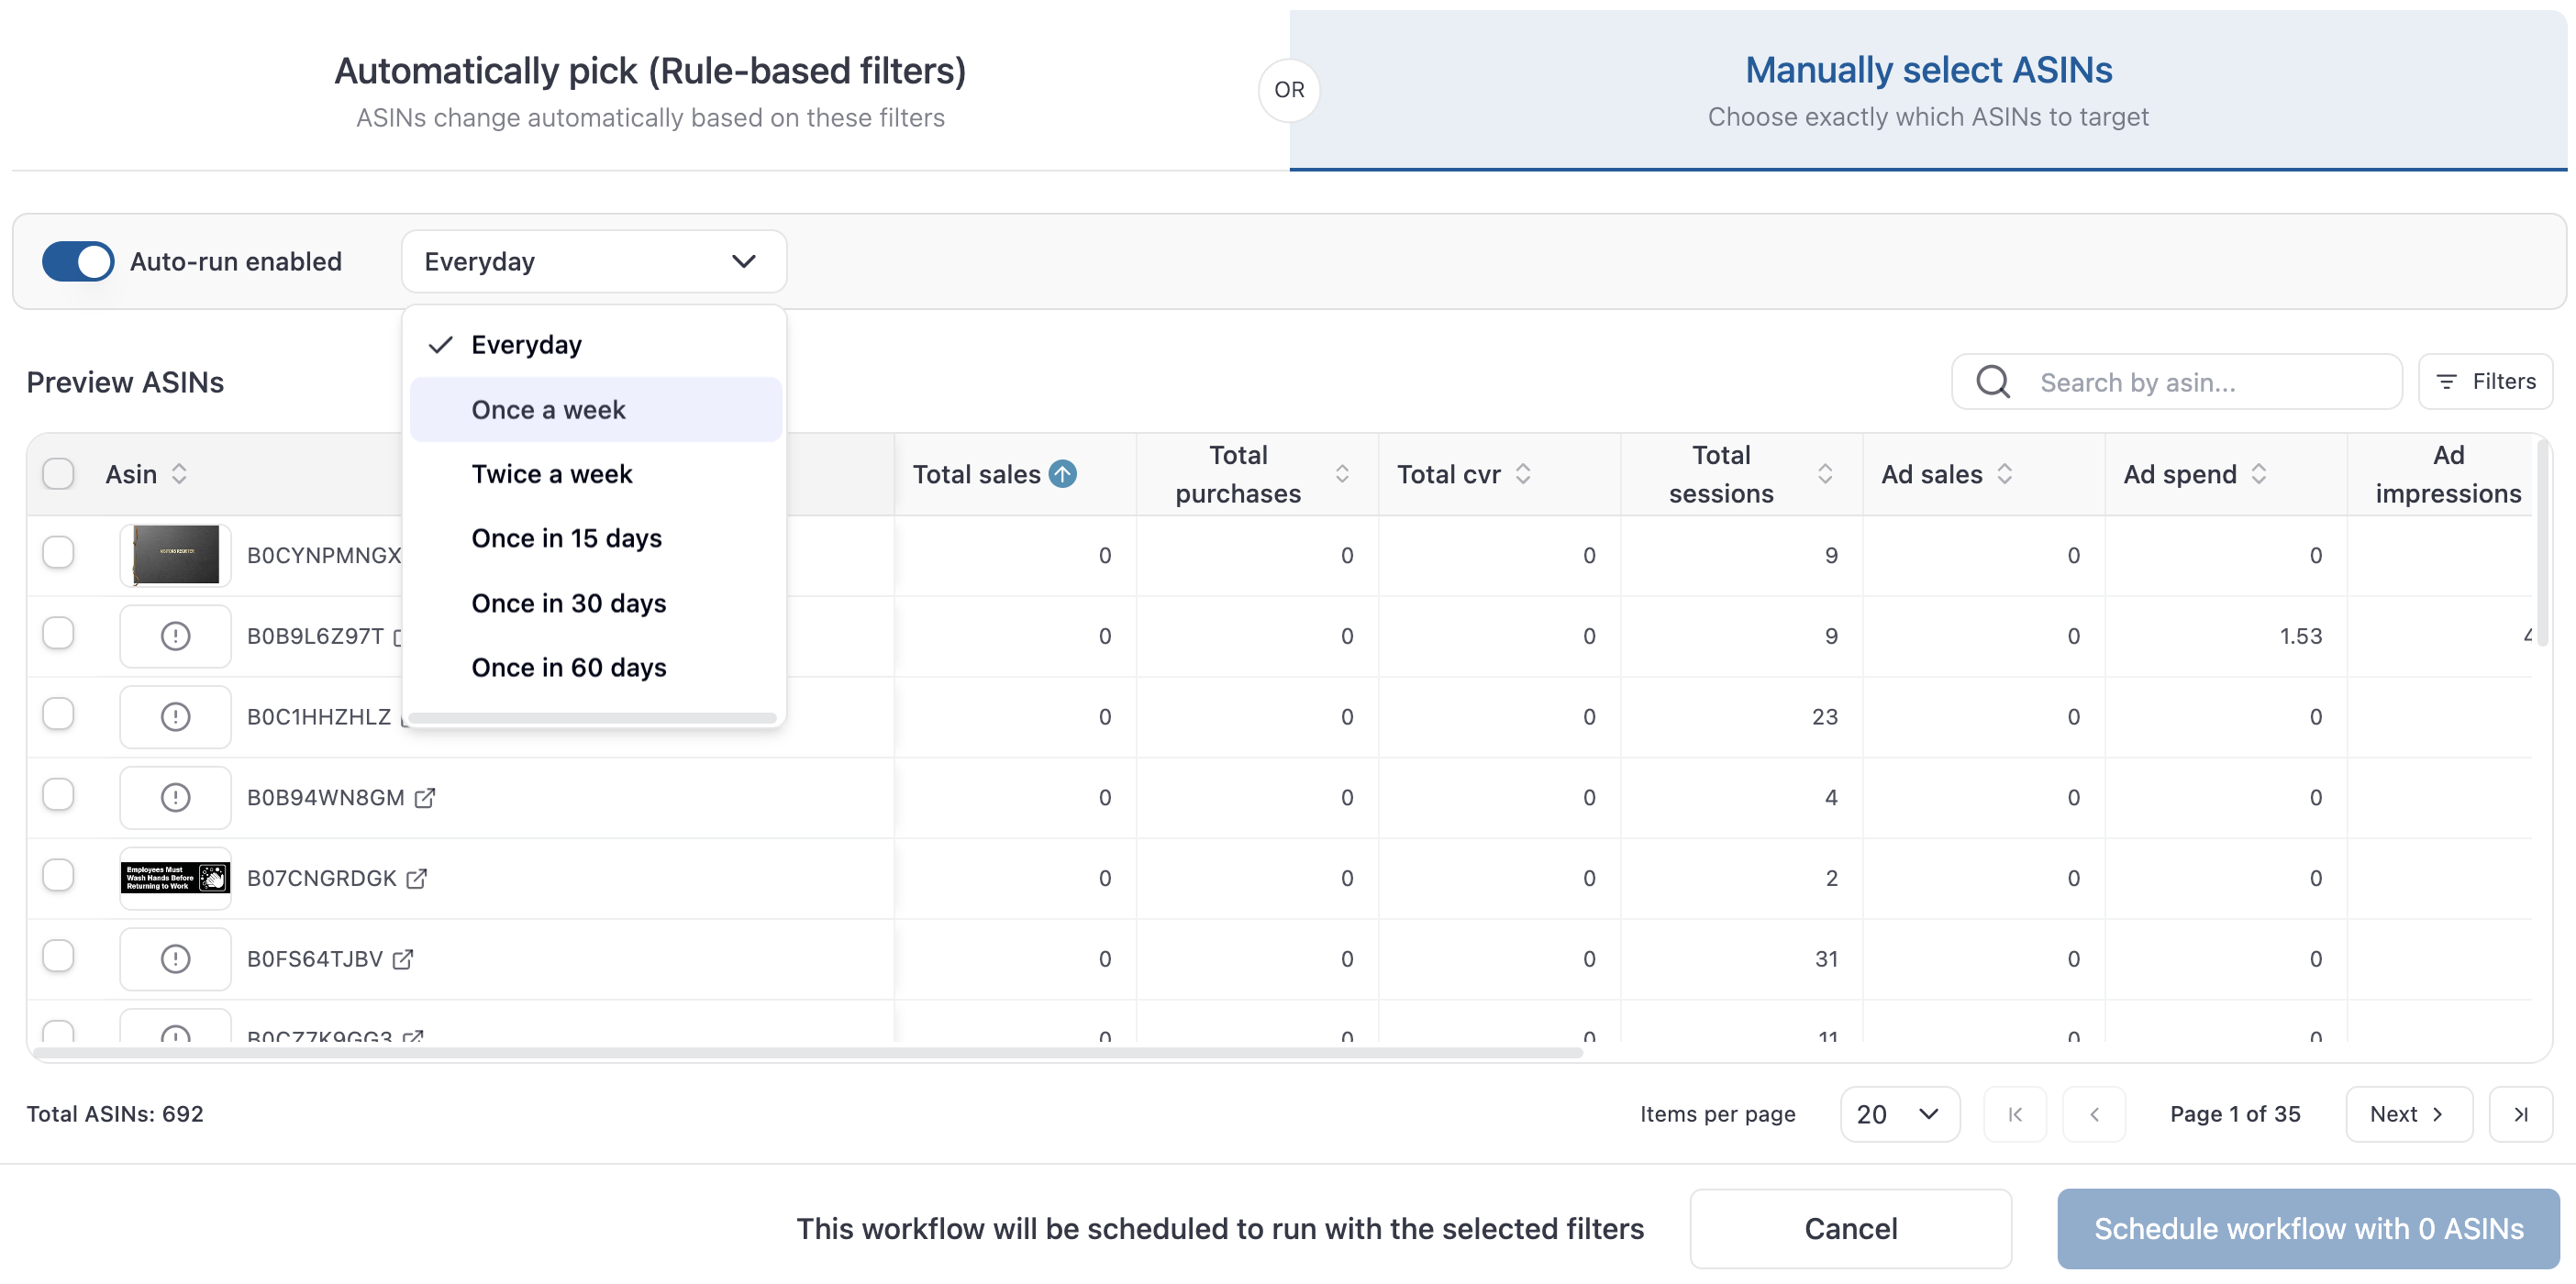
Select specific ASINs to run the workflow
To run the workflow on specific ASINs, click on “Change ASINs”.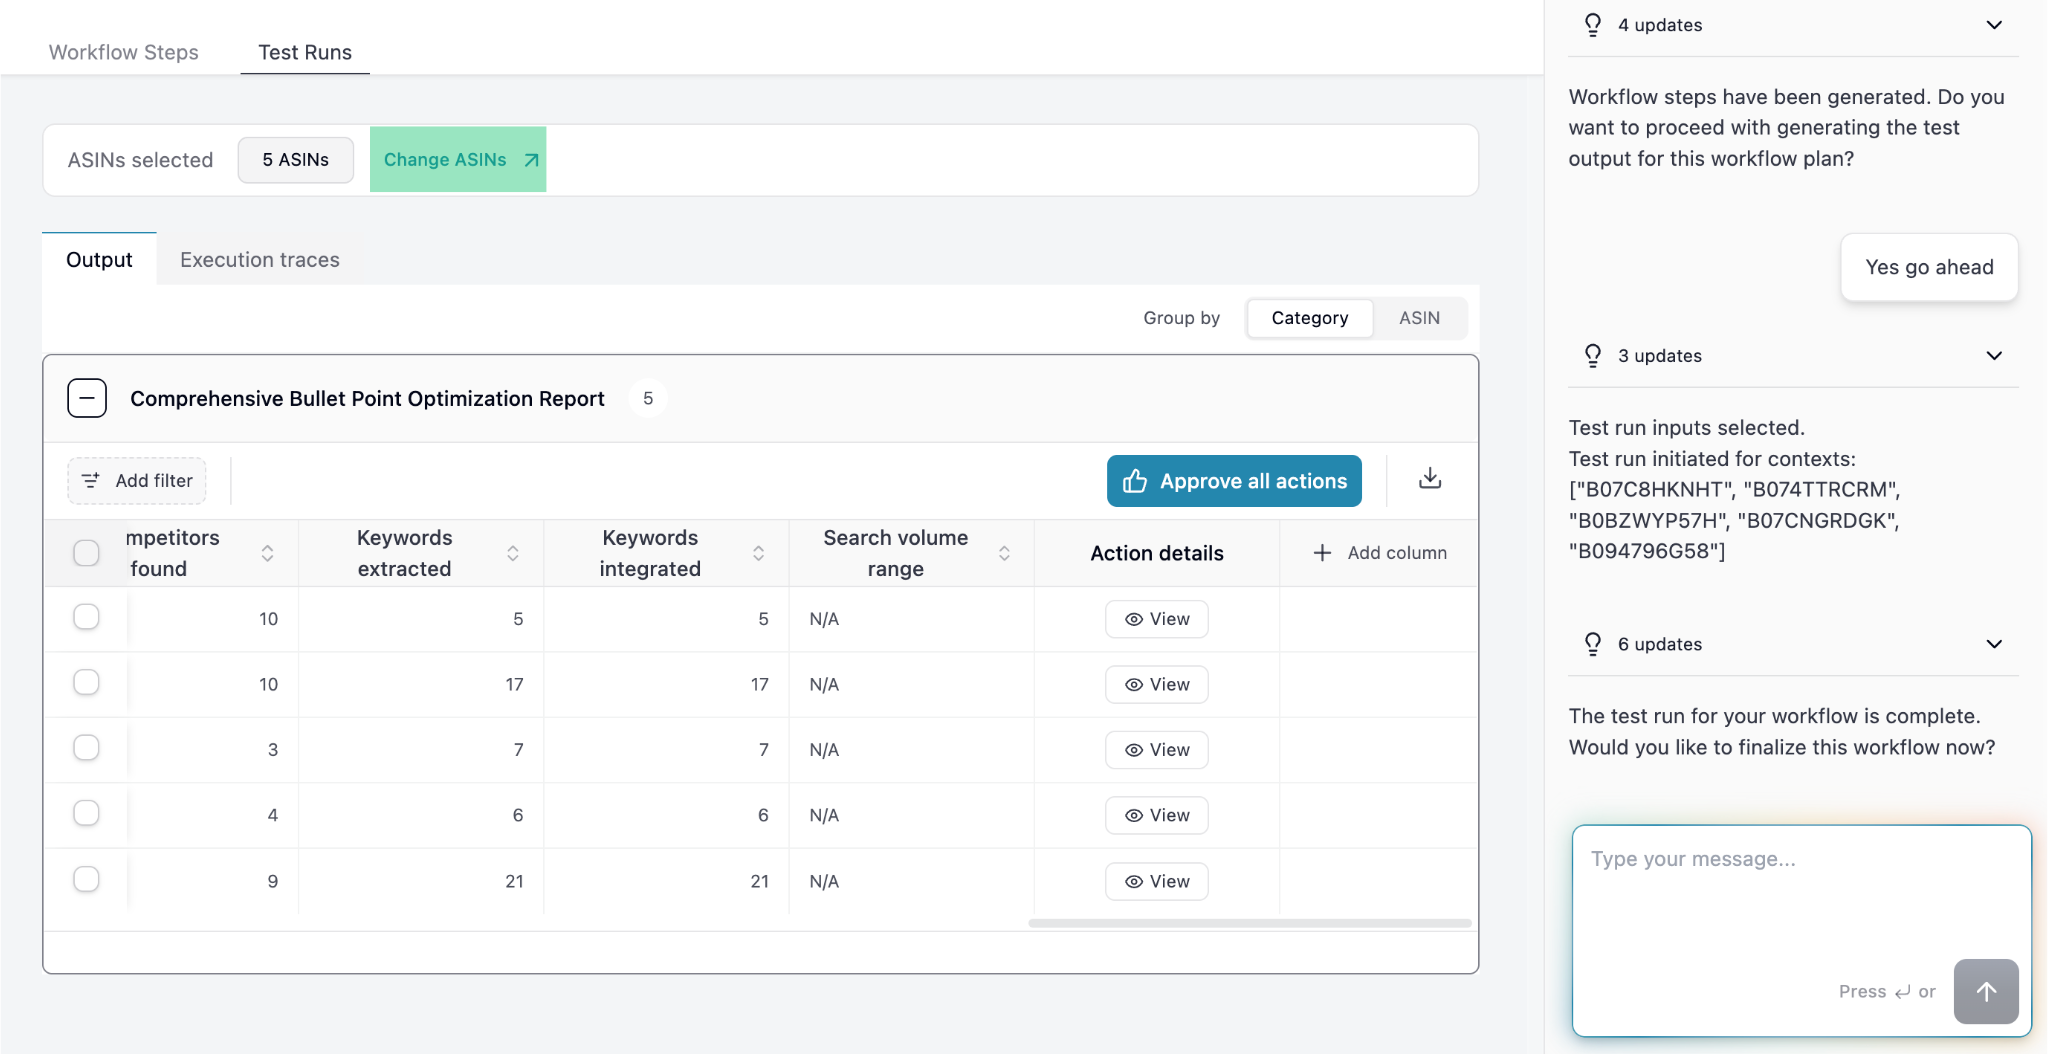
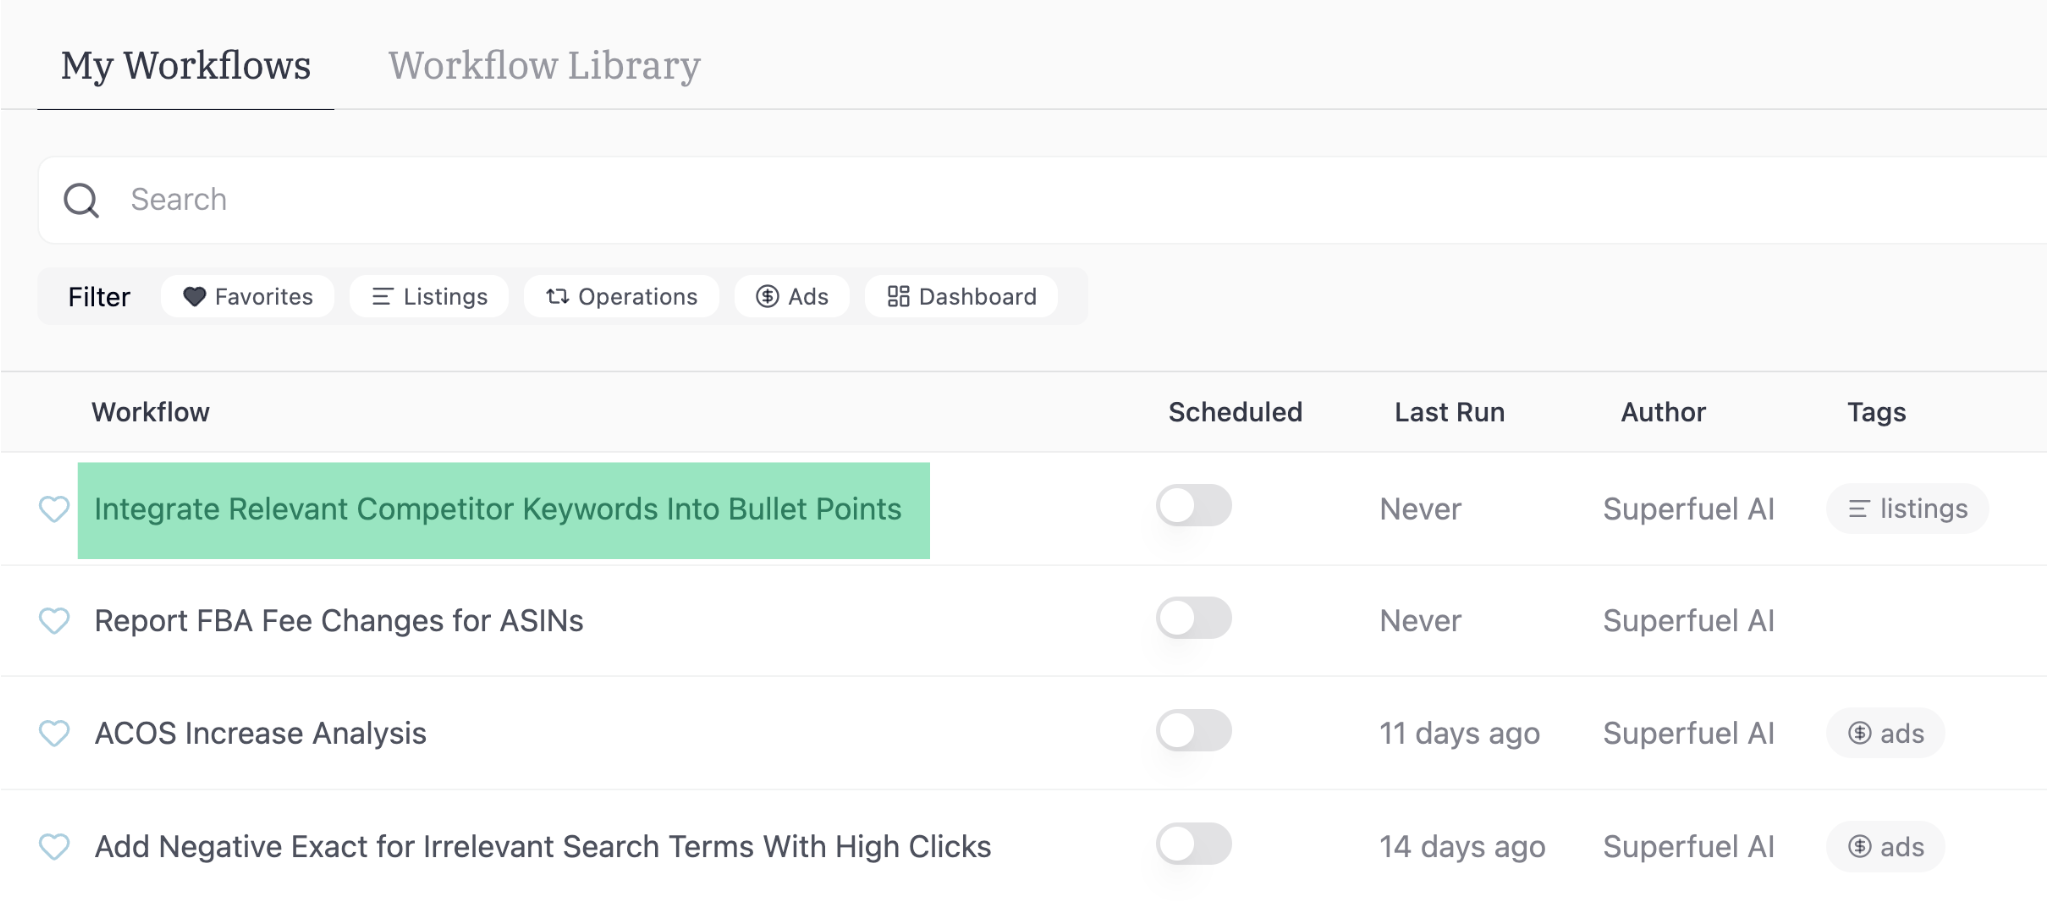
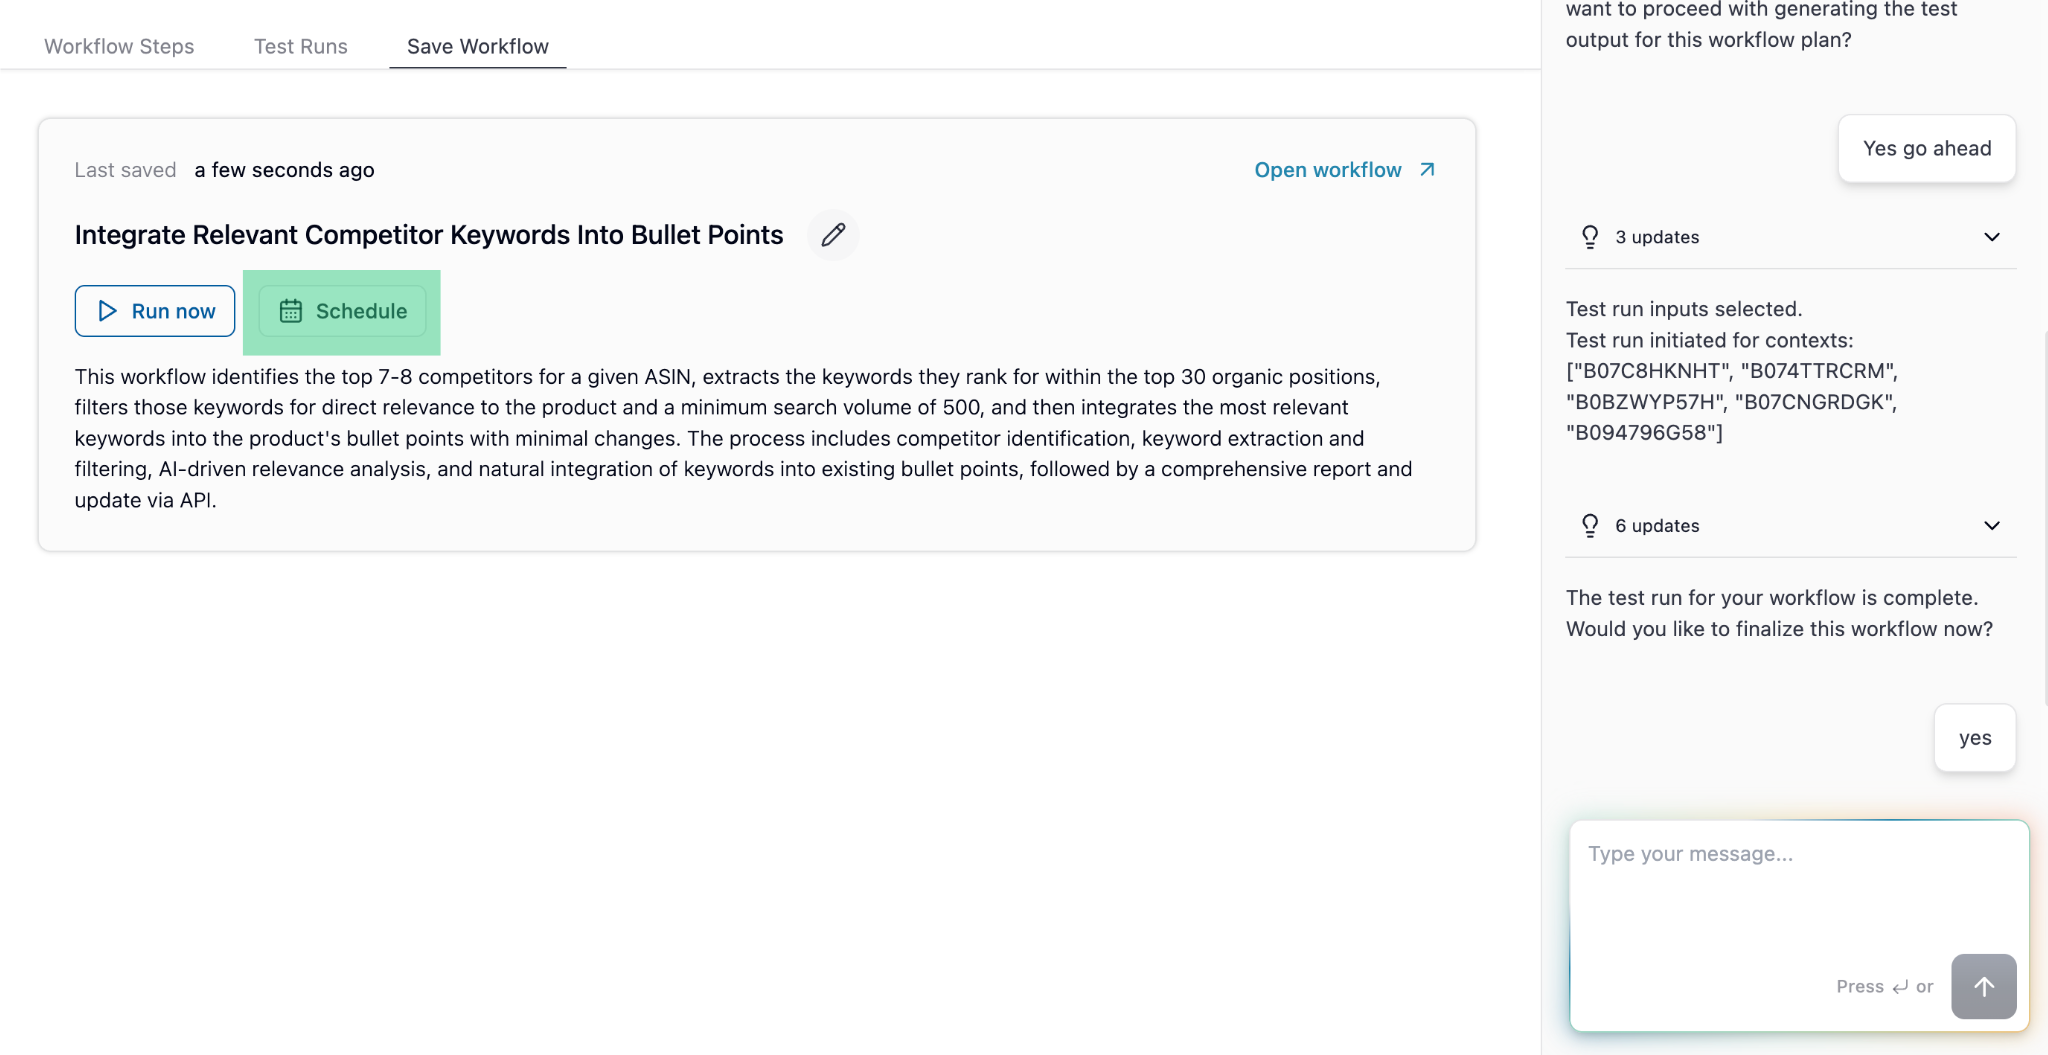
Save the Workflow
To save this workflow for future use, ask the Agent to Save it.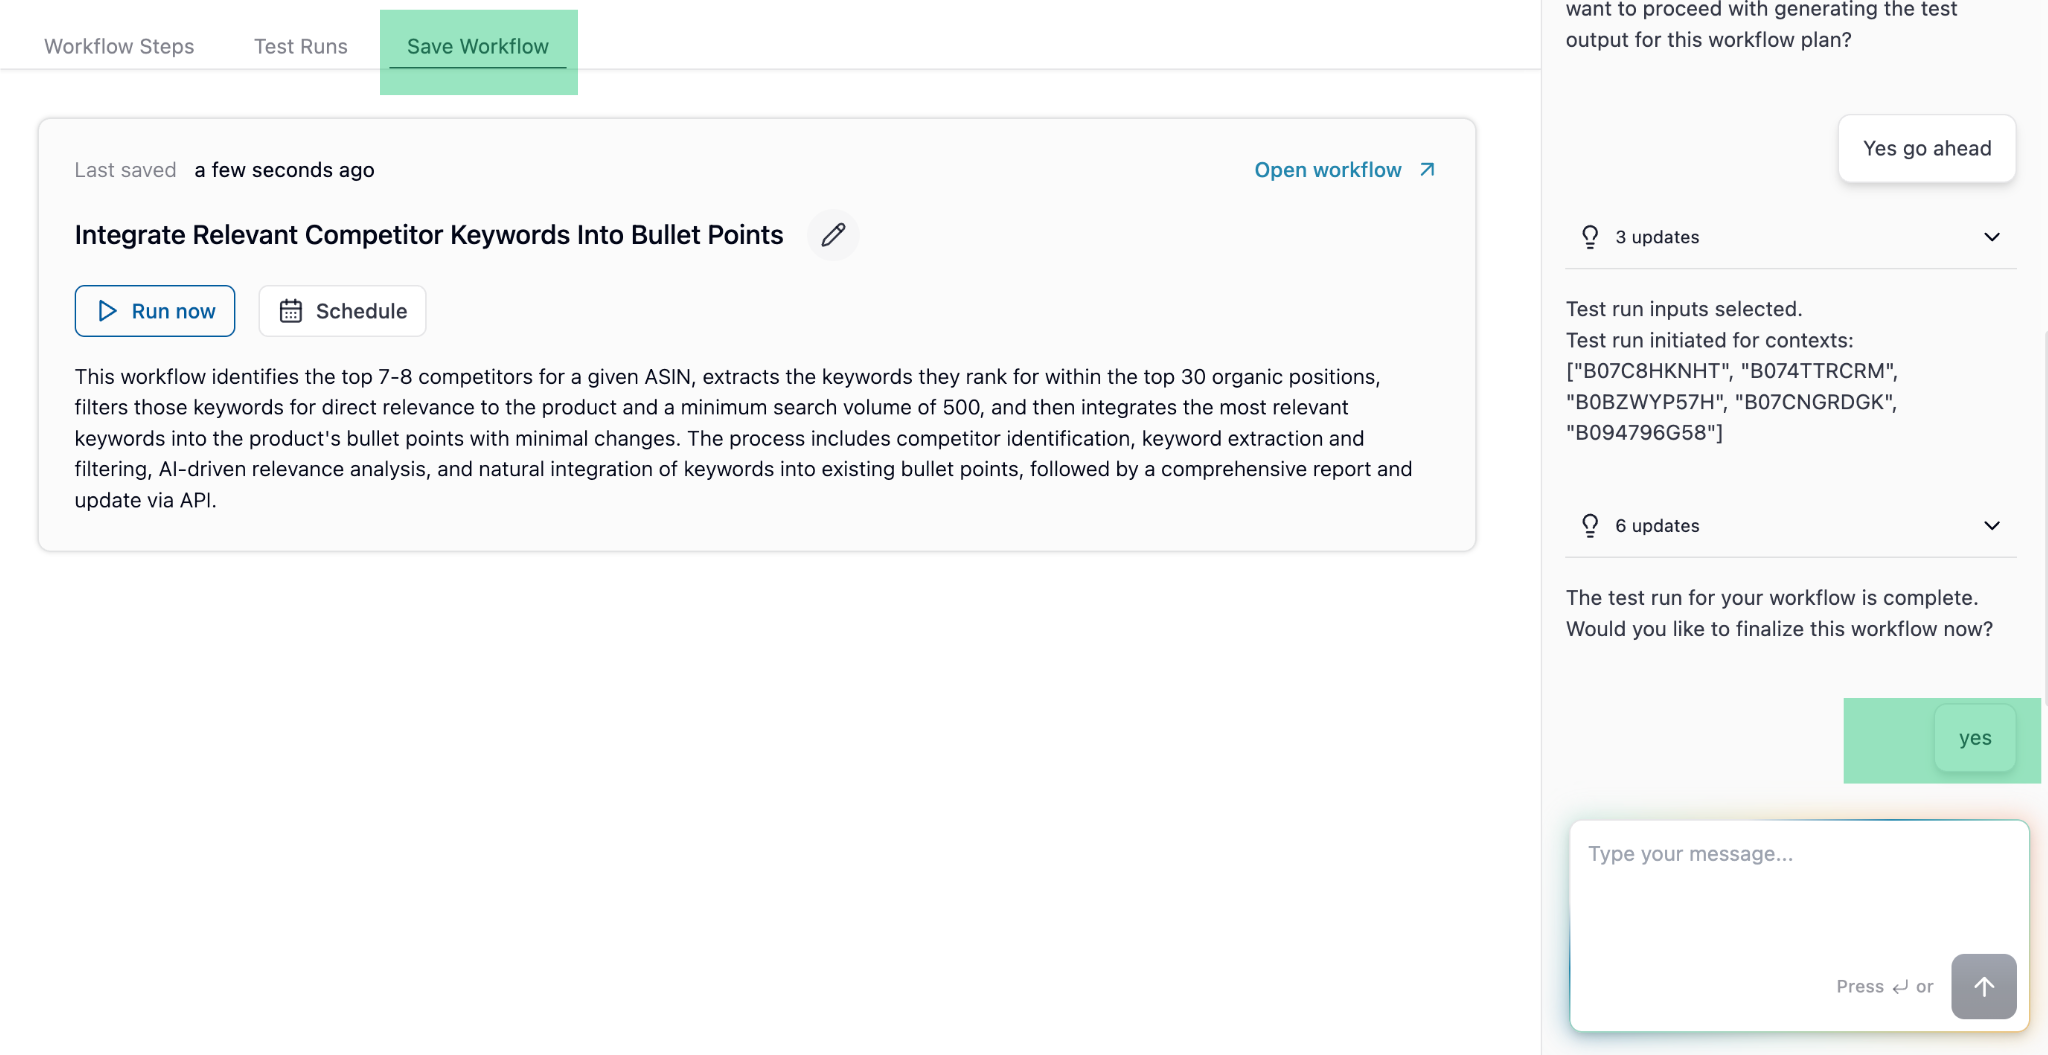
Explore
Workflows
Automate data fetching, analysis, and actions.
Workflow Library
Curated workflows from other sellers.
Best Practices
See how successful sellers use Superfuel